How to Clean Grease Traps: Essential Maintenance Guide
Cart
Your cart is empty
Grease traps play a crucial role in keeping your kitchen running smoothly and protecting your plumbing system from costly damage. Whether you're managing a busy restaurant kitchen or maintaining your home cooking space, understanding proper grease trap cleaning tips can save you thousands in repairs and keep your kitchen operating efficiently. Poor maintenance leads to blocked drains, foul odors, and expensive emergency repairs that could easily be prevented with regular care. This comprehensive guide covers everything from basic DIY cleaning methods to professional maintenance strategies, helping you choose the right approach for your specific needs.
A kitchen grease trap is a plumbing device designed to intercept fats, oils, and grease (FOG) before they enter your drainage system. These essential components work by slowing down the flow of wastewater, allowing grease to cool and separate from the water. The lighter grease floats to the top while heavier solids settle at the bottom, leaving cleaner water to flow into the sewer system. Proper grease trap maintenance protects both your property and the environment. When grease accumulates in pipes, it creates stubborn blockages that can cause sewage backups and expensive repairs. Commercial establishments face additional regulatory requirements, with many municipalities requiring regular grease trap pumping and documentation to prevent environmental contamination. The cost implications of neglecting grease trap maintenance are significant. Emergency plumbing repairs can cost anywhere from INR 15,000 to INR 50,000, while regular maintenance typically costs only INR 2,000 to INR 5,000 per service. Restaurant grease traps that overflow can result in health department violations and temporary closure orders, making preventive care essential for business continuity.
Effective grease trap cleaning requires proper preparation and systematic execution. The key to successful maintenance lies in following safety protocols and using the right techniques for your specific trap type. Before beginning any cleaning process, ensure you have the necessary personal protective equipment including rubber gloves, safety goggles, and non-slip footwear. Allow at least two hours after the last hot water usage to let the grease cool and solidify properly. This cooling period makes removal much easier and safer.
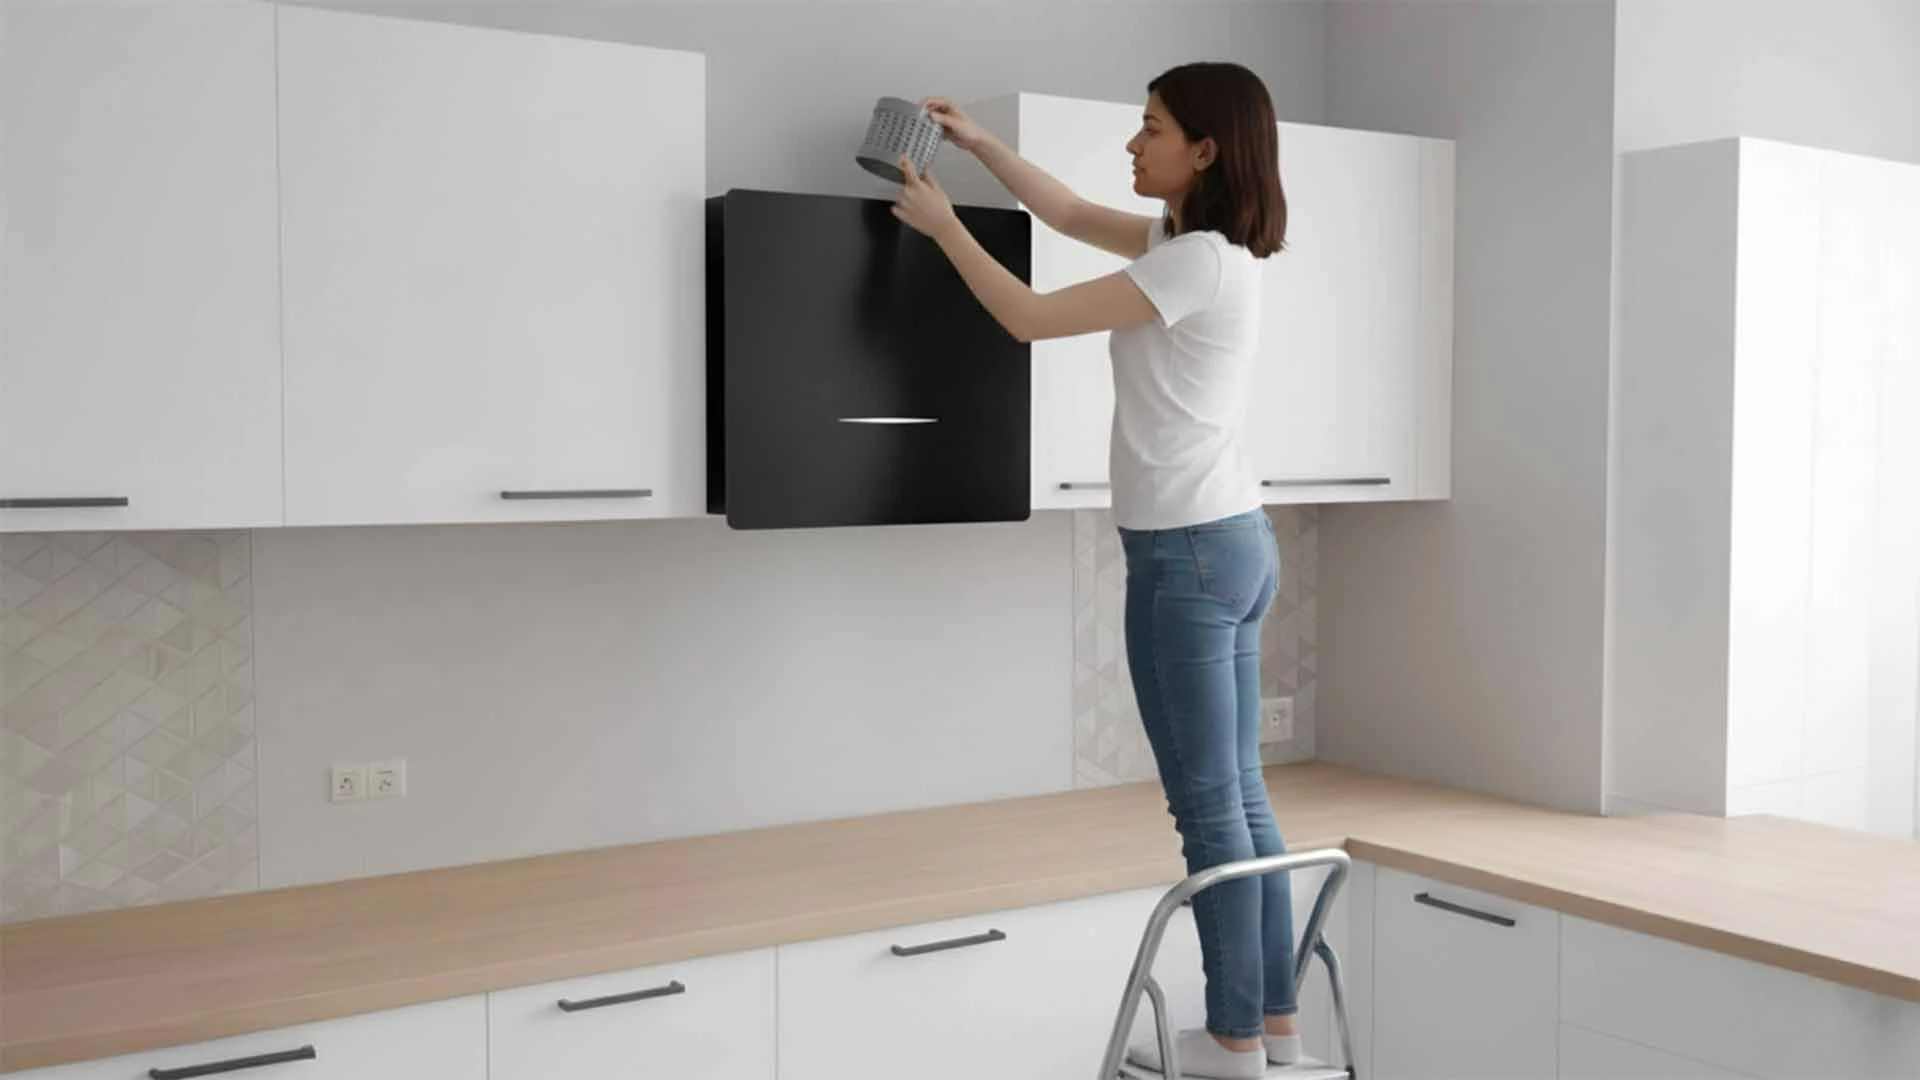
Gather all necessary tools before starting: a flashlight, plastic scrapers, buckets for waste collection, and appropriate cleaning solutions. Turn off any electrical connections near the grease trap and ensure adequate ventilation in the work area. Document the current condition with photos for maintenance records.
Start by carefully removing the grease trap lid, noting its position for proper reassembly. Measure the depth of accumulated grease using a measuring stick - if it exceeds 25% of the trap's capacity, immediate cleaning is necessary. Remove the floating grease layer using a scoop or ladle, placing it in designated waste containers for proper disposal. Scrape all surfaces including baffles, sides, and bottom components to remove adhered grease. Clean these components with warm soapy water, avoiding harsh chemicals that might damage the trap or harm beneficial bacteria. Rinse thoroughly and inspect for any damage or wear that might require professional attention.
The decision between DIY cleaning and professional services depends on several factors including trap size, usage frequency, and local regulations. Understanding when each approach is appropriate helps optimize both cost and effectiveness. Small residential kitchen grease traps can often be maintained through DIY methods. These compact units typically handle lower volumes and can be cleaned monthly using basic household supplies. Simple cleaning solutions like dish soap mixed with warm water effectively break down light grease accumulation.
Homemade grease trap cleaning solutions work well for regular maintenance. Mix equal parts white vinegar and baking soda to create a natural degreasing agent. This combination breaks down grease while neutralizing odors without harsh chemicals. Apply the solution, let it sit for 15 minutes, then scrub and rinse thoroughly.
Commercial grease trap operations require professional intervention due to volume, regulations, and complexity. Professional services provide proper grease trap disposal according to environmental regulations and maintain detailed documentation for compliance purposes. They also have specialized equipment for grease trap pumping and can handle large-scale cleaning efficiently.
Establishing a consistent maintenance schedule prevents major grease trap problems and ensures optimal performance. The frequency depends on usage patterns, trap size, and local regulations, but regular inspection remains crucial regardless of cleaning intervals. Home kitchen grease traps benefit from monthly deep cleaning with weekly inspections. Check the grease level every few days, especially after heavy cooking periods. Restaurant grease traps require more frequent attention, typically weekly to bi-weekly cleaning depending on volume and menu items.
Implement proper grease management practices to reduce cleaning frequency and improve trap efficiency. Train kitchen staff to scrape plates thoroughly before washing and avoid pouring grease directly down drains. Use strainers in sinks to catch food particles and maintain water temperature below 60°C to prevent grease from melting and flowing through the system.
Maintain detailed records of all cleaning activities, including dates, methods used, and any issues discovered. This documentation proves valuable for warranty claims, regulatory compliance, and identifying patterns that might indicate underlying problems. Commercial establishments must often provide these records during health inspections.
Recognizing early warning signs of grease trap problems allows for prompt intervention before costly repairs become necessary. Common issues include blockages, overflows, persistent odors, and equipment malfunctions that require specific troubleshooting approaches. Blockages typically occur when grease accumulation exceeds the trap's capacity or when improper materials enter the system. Slow drainage, gurgling sounds, and backup in connected sinks indicate developing blockages that need immediate attention.
Specialized bacteria additives can help break down organic matter in blocked traps. These beneficial microorganisms consume grease and food particles, reducing buildup naturally. Apply according to manufacturer instructions and allow adequate time for bacterial action before expecting results.
Install overflow alarms or monitoring systems to alert you when grease levels approach critical thresholds. Regular inspections every three days help catch problems early, while proper staff training prevents inappropriate materials from entering the system. Emergency procedures should include immediate cleaning protocols and temporary drainage solutions.
Professional grease trap services offer advanced solutions that go beyond basic cleaning. These services use specialized equipment, commercial-grade chemicals, and systematic approaches that ensure thorough cleaning and regulatory compliance. Commercial cleaning equipment includes high-pressure washers, vacuum trucks for grease trap pumping, and specialized tools for accessing difficult areas. Professional-grade cleaning chemicals are formulated specifically for grease breakdown while being safe for plumbing systems and the environment.
Modern grease trap solutions include automated systems that monitor grease levels, schedule cleaning cycles, and provide real-time alerts. These systems reduce labor costs while ensuring consistent maintenance and compliance with local regulations.
While professional services cost more initially, they often provide better long-term value through thorough cleaning, proper disposal, and regulatory compliance. Calculate total costs including labor, supplies, disposal fees, and potential fines to determine the most economical approach for your situation.
The easiest method involves waiting 2+ hours after hot water use, removing the FOG layer with proper tools, scraping all surfaces clean, and flushing with appropriate cleaning solutions. Always wear protective equipment and ensure proper ventilation during the process.
Home grease traps should be cleaned monthly, with inspections every 3 days to monitor the 30% FOG rule. Heavy cooking periods may require more frequent cleaning to prevent overflow and maintain efficiency.
Regular cleaning every 30-90 days, proper staff training, temperature control, and documentation of maintenance activities ensure effective grease trap maintenance. Implement preventive measures like plate scraping and proper waste disposal practices.
Hot water followed by baking soda and vinegar creates an effective natural grease-dissolving solution for minor buildups. This combination breaks down grease while being environmentally safe and cost-effective.
Use specialized bacteria additives, hot (not boiling) soapy water, and mechanical removal for severe blockages. Never use harsh chemicals or boiling water, as these can damage the trap and create safety hazards.
Yes, dish soap, baking soda, and vinegar work for light maintenance, but commercial cleaners are more effective for heavy buildup. Household products are suitable for regular maintenance but may not handle severe accumulation effectively.
Proper grease trap maintenance protects your investment in kitchen equipment while ensuring smooth operations and regulatory compliance. Regular cleaning using appropriate grease trap cleaning tips prevents costly repairs and maintains a healthy cooking environment. Whether you choose DIY methods for home kitchens or professional services for commercial operations, consistency and proper technique are essential for success. Remember that prevention through good grease management practices is always more cost-effective than dealing with major blockages or system failures.
