The Ultimate Checklist: How to Deep Clean Stove Burners Effortlessly
Cart
Your cart is empty
A sparkling clean cooktop transforms your kitchen from messy to magnificent. Yet many home cooks struggle with burnt-on grease, clogged burner holes, and stubborn food residue that seems impossible to remove. Whether you own a gas stove or electric cooktop, proper cleaning techniques ensure optimal performance, safety, and longevity. This comprehensive guide walks you through professional-grade methods to deep clean your burners effortlessly, using simple household items and proven techniques that deliver restaurant-quality results.
Safety comes first when learning how to clean cooktop burners effectively. Proper preparation prevents accidents and ensures thorough cleaning results. Always allow your cooktop to cool completely before beginning any cleaning process, as hot surfaces can cause burns and cleaning products may react unpredictably with heat.
Start by gathering your essential cleaning supplies: dish soap, white vinegar, baking soda, soft-bristled toothbrush, microfiber cloths, and non-abrasive sponges. Remove all cookware, utensils, and debris from the cooktop surface to create a clear workspace.
For gas cooktops, turn off the gas supply at the main valve if possible, or ensure all control knobs are in the "off" position. Remove burner grates, caps, and heads carefully, noting their original positions for proper reassembly. These components are typically dishwasher-safe, but hand washing provides better control over the cleaning process.
Electric cooktop owners should unplug the appliance or turn off the circuit breaker before cleaning. Coil burners require different handling than glass-top surfaces, as water immersion can damage electrical components. Glass-top cooktops need gentle, non-abrasive cleaning methods to prevent scratches and maintain their smooth finish.
Mastering how to clean gas stove top burners requires systematic approach and patience. Gas burners accumulate grease, food particles, and carbon deposits that can affect flame distribution and cooking efficiency. Follow these detailed steps for professional-quality results.
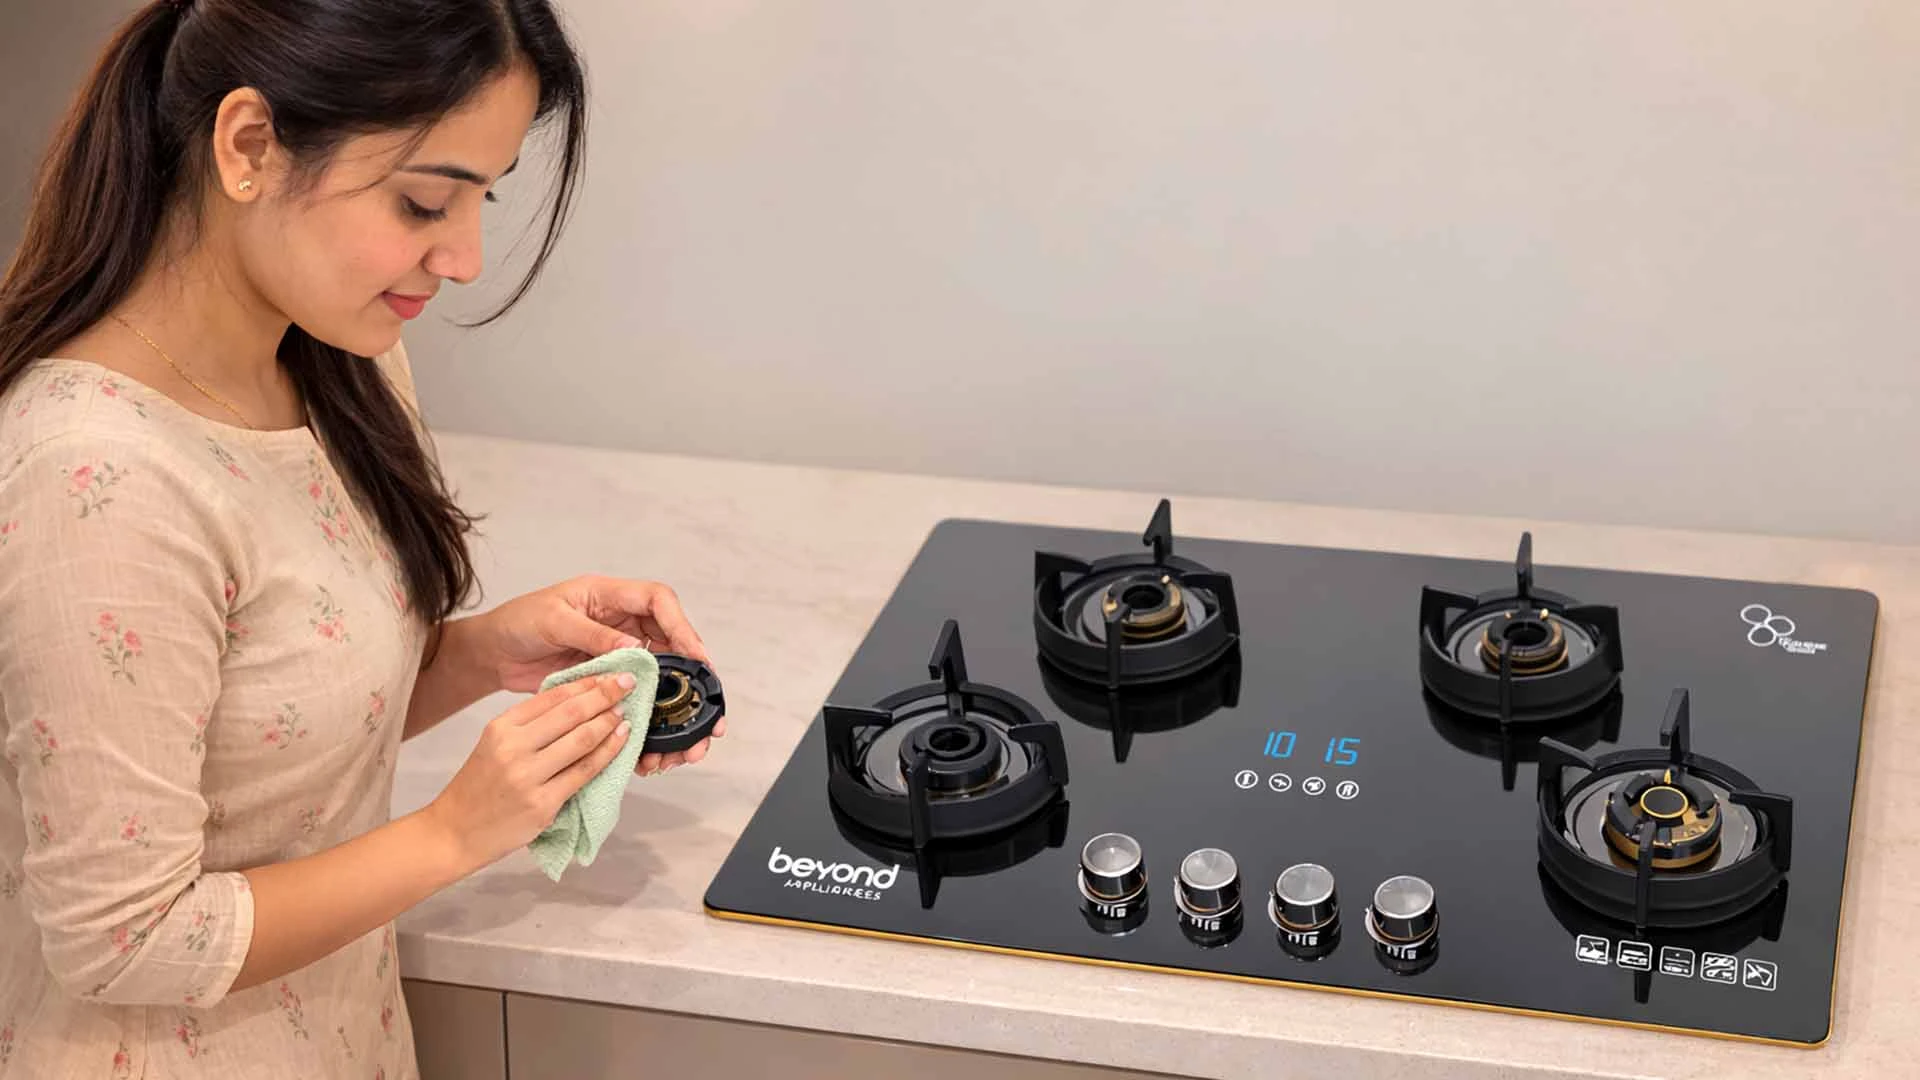
Step 1: Remove all removable components including grates, burner caps, and burner heads. Handle these parts gently to avoid damage or misalignment.
Lift grates straight up to avoid scratching the cooktop surface
Remove burner caps by lifting them off the burner heads
Some burner heads may also be removable for deeper cleaning
Take photos before disassembly to ensure proper reassembly
Step 2: Create effective soaking solutions using common household items. Mix warm water with dish soap for general cleaning, or create a paste using baking soda and water for stubborn stains.
Dish soap solution: 2 tablespoons per liter of warm water
Baking soda paste: 3 parts baking soda to 1 part water
Vinegar solution: Equal parts white vinegar and warm water
Step 3: Soak removable components for 30 minutes to 8 hours, depending on soil level. Heavily soiled parts benefit from overnight soaking to loosen burnt-on residue.
Step 4: Scrub components using a soft-bristled toothbrush and non-abrasive sponges. Focus on crevices and detailed areas where grease accumulates.
Step 5: Clear blocked burner holes using a needle, paperclip, or specialized burner cleaning tool. Blocked holes cause uneven flames and reduced cooking efficiency.
Step 6: Rinse all components thoroughly with clean water and dry completely before reassembly. Moisture can cause rust or interfere with gas flow.
Step 7: Reassemble components in reverse order, ensuring proper alignment for optimal gas flow and flame distribution.
Cleaning electric cooktop burners requires different techniques than gas burners due to electrical components and varying surface materials. Electric coil burners should never be immersed in water, while glass-top surfaces need gentle, scratch-free cleaning methods.
For coil burners, remove them from their sockets when completely cool. Wipe with a damp cloth and mild detergent, avoiding the electrical connections. Stubborn spots respond well to baking soda paste applied with a soft brush.
Glass-top surfaces require specialized care to maintain their appearance and functionality. Use cooktop-specific cleaners or create a gentle solution with vinegar and water. Apply the cleaner, let it sit for several minutes, then wipe with a microfiber cloth in circular motions.
Clean coil burners monthly by wiping with a damp cloth after they cool completely. For deep cleaning, remove burners and clean the drip pans underneath with warm, soapy water. Replace damaged or warped coils to maintain even heating.
Removing burnt food from burners challenges even experienced home cooks, but proven techniques make this task manageable. Burnt-on residue requires patience and the right cleaning approach to avoid damaging burner components.
Create a powerful yet safe cleaning paste using baking soda, water, and a few drops of dish soap. This combination breaks down grease while providing gentle abrasive action for stubborn deposits.
Mix three parts baking soda with one part water to form a thick paste. Apply generously to burnt areas and let sit for 20 minutes. The alkaline properties of baking soda neutralize acidic food residues and soften burnt-on materials.
White vinegar cuts through grease effectively and removes mineral deposits from hard water. Spray undiluted vinegar on affected areas, let sit for 15 minutes, then scrub gently with a soft brush. Rinse thoroughly to remove vinegar residue.
Lemon juice naturally brightens brass burner components while removing tarnish and discoloration. Cut a fresh lemon in half and rub directly on brass surfaces, or apply lemon juice with a cloth. Rinse and dry thoroughly after treatment.
Cooktop maintenance extends appliance life and ensures consistent cooking performance. Regular cleaning prevents buildup that becomes increasingly difficult to remove over time. Establish a maintenance routine that fits your cooking frequency and lifestyle.
Daily maintenance involves wiping spills immediately after cooking and removing food debris before it hardens. Weekly cleaning includes removing and washing burner grates and drip pans. Monthly deep cleaning addresses accumulated grease and carbon deposits.
Dedicate time each month for thorough burner cleaning using the techniques outlined above. This prevents heavy buildup and maintains optimal burner performance. Schedule this cleaning during low-cooking periods to minimize kitchen disruption.
Simple daily habits prevent major cleaning challenges. Wipe spills immediately, use splatter screens during cooking, and ensure proper ventilation to reduce grease accumulation. These small actions significantly reduce deep cleaning frequency.
Perform comprehensive cooktop cleaning quarterly, including areas behind and around the appliance. Check gas connections, inspect electrical components, and replace worn parts as needed. This thorough approach maintains safety and performance standards.
Even with proper techniques, certain cleaning challenges require specialized solutions. Understanding how to address these issues ensures successful cleaning outcomes and prevents damage to your cooktop components.
Extremely clogged burner holes may require repeated cleaning cycles or professional attention. Never use metal objects larger than a needle to clear holes, as this can damage the precise openings and affect gas flow patterns.
If flames appear uneven after cleaning, check for remaining debris in burner holes or improper component alignment. Ensure all parts are completely dry before reassembly, as moisture can temporarily affect ignition patterns.
Use only non-abrasive cleaning tools and avoid harsh chemicals that can damage cooktop surfaces. For glass-top cooktops, specialized scrapers designed for these surfaces safely remove stubborn residue without scratching.
The best method depends on your cooktop type. For gas burners, remove components and soak in warm, soapy water, then scrub with a soft brush. Electric coil burners should be wiped clean without water immersion, while glass-top surfaces need gentle, non-abrasive cleaners.
Gas burner grates, caps, and heads can be safely soaked in water. However, never immerse electric coil burners or their connections in water, as this can damage electrical components and create safety hazards.
Clean burners weekly for regular use, or immediately after spills occur. Deep cleaning should happen monthly for frequent cooks, or quarterly for occasional users. Daily maintenance prevents major buildup.
Mild dish soap, baking soda, and white vinegar are safe, effective options. Avoid harsh chemicals, bleach, or abrasive cleaners that can damage finishes or leave harmful residues near food preparation areas.
Mix equal parts white vinegar and warm water. Soak removable components for 30 minutes, then scrub with a soft brush. Vinegar cuts through grease and removes mineral deposits naturally without harsh chemicals.
Focus on clearing all burner holes completely using a needle or paperclip. Remove any debris from gas ports and ensure proper alignment of burner caps and heads. Clean components allow optimal gas flow and even flame distribution.
Mastering how to clean cooktop burners transforms kitchen maintenance from chore to simple routine. Regular cleaning prevents buildup, ensures safety, and maintains optimal cooking performance. Whether you own gas or electric cooktops, these proven techniques deliver professional results using common household items.
Remember that safety always comes first - ensure cooktops are cool and power is disconnected before cleaning. Establish regular maintenance habits to prevent major cleaning challenges, and don't hesitate to seek professional help for persistent issues. With proper care, your cooktop burners will provide years of reliable, efficient cooking performance.
