How to Install Chimney Filter: Easy Self-Check
Cart
Your cart is empty
Installing a chimney filter might seem complex, but with the right approach, it becomes a simple task you can handle yourself. Modern kitchen chimneys are designed with user-friendly features that make maintenance straightforward. Whether you own a smart kitchen chimney or a traditional model, understanding the installation process helps you maintain optimal performance. This comprehensive guide walks you through each step, ensuring your chimney operates efficiently while keeping your kitchen air clean and fresh.
Your kitchen chimney filter serves as the first line of defense against grease, smoke, and cooking odors. Different chimney filter types work in unique ways to ensure efficient cooking chimney performance.
Baffle filters use curved metal plates to trap grease particles through centrifugal force. These filters work excellently in heavy-duty cooking environments and require minimal maintenance. Mesh filters feature multiple layers of aluminum or stainless steel mesh. They capture grease effectively but need regular cleaning to maintain suction power. Charcoal filters absorb odors and are commonly found in ductless chimneys. These filters require replacement every 3-6 months depending on cooking frequency. Cassette filters combine mesh and baffle technology, offering superior filtration for modern kitchens.
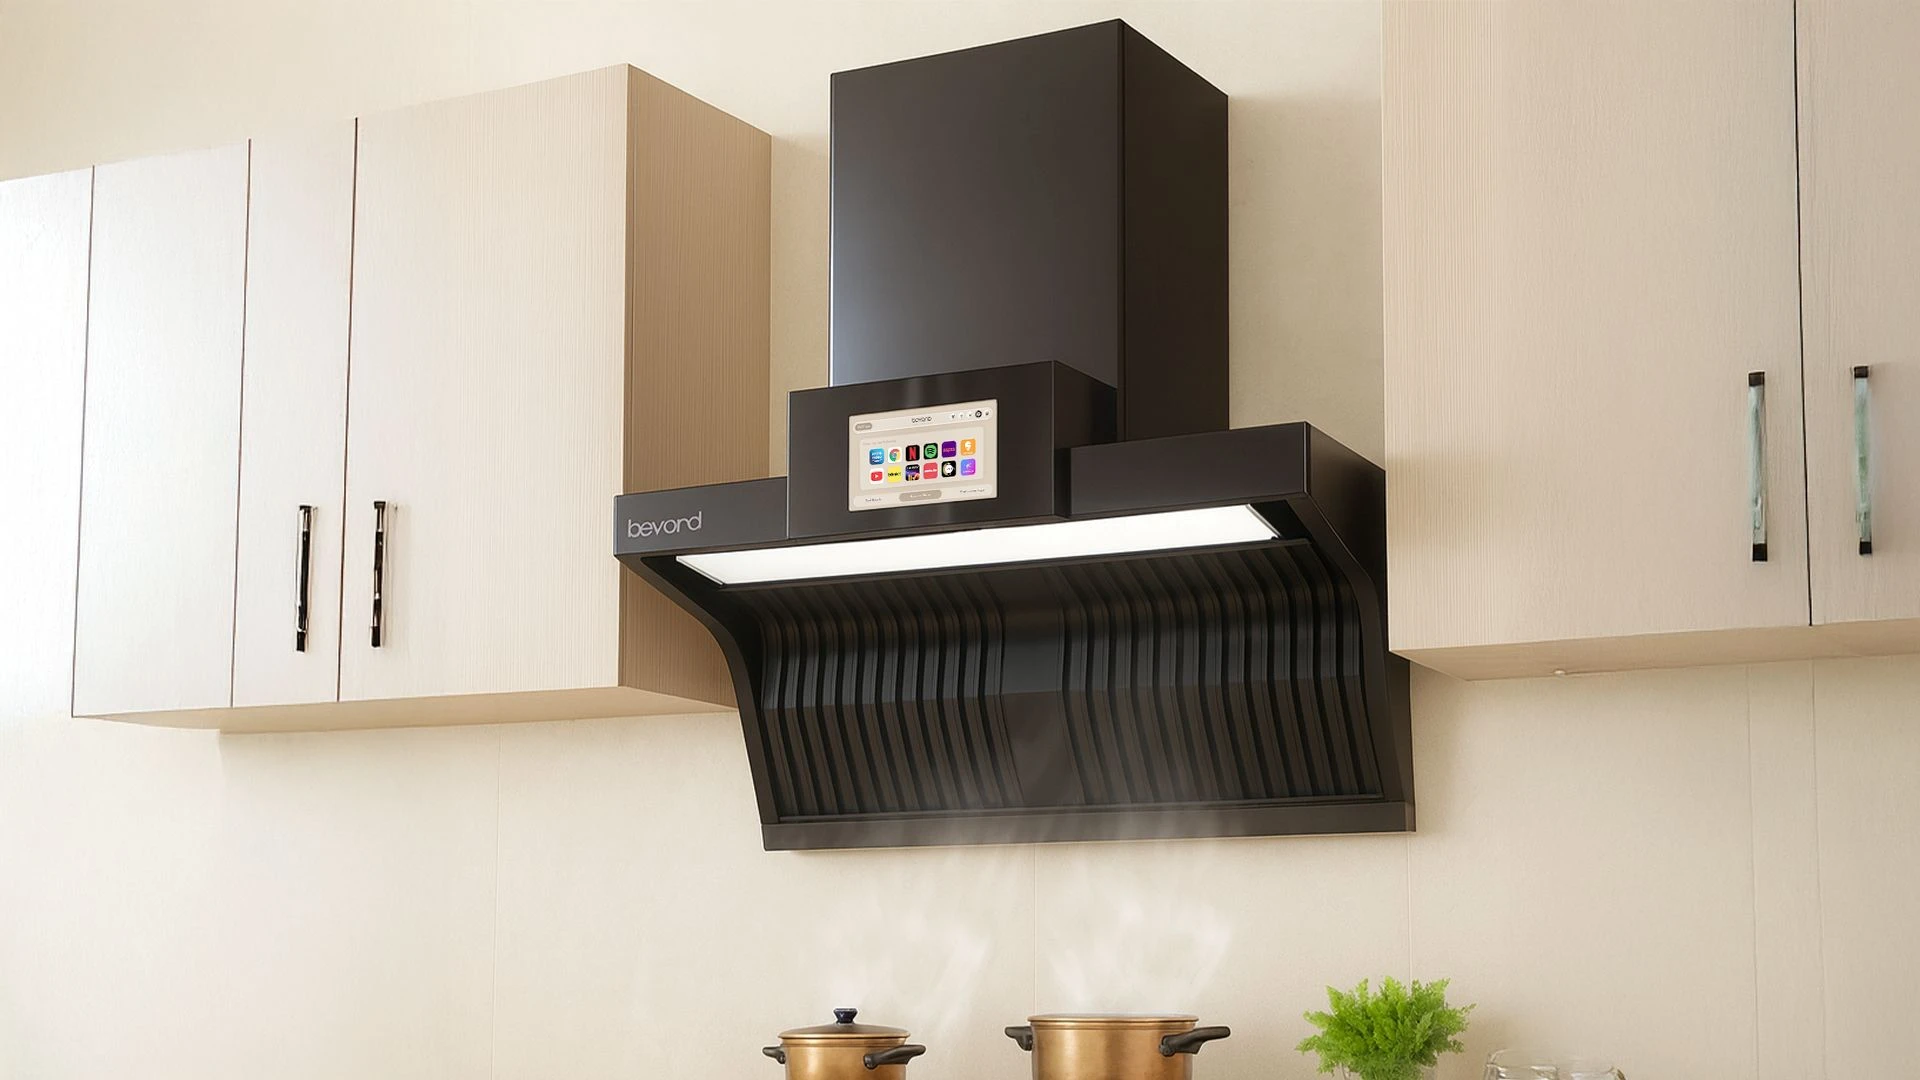
Modern smart kitchen chimney models include auto-clean functions that reduce manual maintenance. Self-cleaning chimneys use heat or oil collectors to minimize filter clogging. These advanced features make kitchen chimney maintenance more convenient while ensuring consistent performance.
Proper preparation ensures safe and successful chimney filter installation. Having the right tools prevents delays and reduces installation risks.
• Screwdriver set (Phillips and flathead) • Work gloves for hand protection • Stable ladder or step stool • Clean cloth for wiping surfaces • Flashlight for better visibility • New filter compatible with your chimney model
Turn off the chimney power at the main switch before starting work. Allow the chimney to cool completely if it was recently used. Clear the cooking area below to create safe workspace. Check that your replacement filter matches the chimney specifications exactly.
Following a systematic approach ensures proper install chimney filter procedures. Each step builds upon the previous one, creating a secure and effective installation.
Open the chimney's front panel or remove the bottom cover plate. Most filters have clips or latches that release with gentle pressure. Slide the old filter out carefully, noting its orientation for proper replacement positioning.
Wipe down the filter housing with a damp cloth to remove accumulated grease. Clean surfaces ensure better filter seating and improved air flow. Check for any debris that might interfere with the new filter placement.
Slide the new filter into position, ensuring it sits flush against all mounting points. The filter should fit snugly without forcing or bending. Secure all clips and latches according to your chimney installation guide specifications.
Verify that the filter sits level and doesn't wobble when gently touched. All edges should align properly with the housing frame. Replace the front panel or cover plate securely.
A thorough kitchen chimney self-check confirms successful installation and optimal performance. These verification steps prevent future issues and ensure safety.
Restore power to the chimney and test all speed settings. Listen for unusual noises that might indicate improper filter placement. Check that the chimney light functions correctly and illuminates the cooking area evenly.
Hold a tissue paper near the chimney intake while running at medium speed. The paper should be drawn toward the filter immediately. Strong, consistent suction indicates proper installation and good filter condition.
An efficient cooking chimney should operate quietly at low speeds and provide strong suction at higher settings. Vibration should be minimal, and air flow should feel smooth and consistent across the entire filter surface.
Regular kitchen chimney maintenance extends filter life and maintains peak performance. Establishing a routine prevents major issues and reduces replacement costs.
Wipe external surfaces daily with a soft cloth to prevent grease buildup. Run the chimney for 2-3 minutes after cooking to clear residual vapors. Weekly inspection of filter condition helps identify cleaning needs early.
Remove and wash mesh or baffle filters with warm soapy water monthly. For self-cleaning chimney models, activate the auto-clean function according to manufacturer recommendations. Replace charcoal filters every 3-6 months based on cooking frequency.
Inspect all mounting hardware for looseness or wear twice yearly. Check ductwork connections if applicable. Professional servicing annually ensures optimal performance and extends appliance life.
Even careful installation can encounter challenges. Understanding common problems helps resolve issues quickly without professional assistance.
If the filter doesn't fit properly, verify you have the correct model number. Check for packaging materials or protective films that need removal. Ensure the filter orientation matches the original installation.
Poor suction often indicates improper filter seating or blocked air passages. Remove and reinstall the filter, ensuring all clips engage fully. Check for debris in the housing that might restrict air flow.
Vibration typically results from loose filter mounting or unbalanced installation. Verify all securing mechanisms are properly engaged. If noise persists, check that the filter type matches your chimney specifications exactly.
Replacement frequency depends on cooking habits and filter type. Mesh filters need replacement every 6-12 months with regular cleaning. Baffle filters can last 2-3 years with proper maintenance. Charcoal filters require replacement every 3-6 months.
Stick to the manufacturer's recommended filter type for optimal performance. Different filters have varying dimensions and mounting systems that may not be compatible with your chimney design.
Self-cleaning chimneys use heat or oil collection systems to reduce manual maintenance. However, filters still require periodic replacement or cleaning depending on the specific technology used.
Monitor suction strength, noise levels, and cooking odor elimination. Many smart chimneys include performance indicators or mobile app notifications that alert you to maintenance needs.
Most filter replacements are designed for easy DIY installation. However, if you encounter mounting issues or your chimney requires internal component access, professional service ensures safe and proper installation.
Correct installation maintains optimal air flow, reducing cooking odors and smoke. This creates a more comfortable cooking environment and prevents grease accumulation on kitchen surfaces.
Successful chimney filter installation combines proper preparation, careful execution, and thorough testing. Understanding your specific chimney type and filter requirements ensures compatibility and performance. Regular maintenance schedules prevent major issues and extend filter life significantly. When in doubt, consulting your chimney's manual or contacting customer service provides manufacturer-specific guidance. With these skills, you can maintain your kitchen chimney effectively while ensuring clean, comfortable cooking conditions year-round.
