How to Clean Your Kitchen Exhaust Fan the Right Way
Cart
Your cart is empty
A clean kitchen exhaust fan is essential for maintaining a healthy cooking environment. Over time, grease and grime build up on fan blades, filters, and motor components, reducing efficiency and creating potential safety hazards. Regular cleaning kitchen exhaust fan maintenance not only improves air quality but also extends the life of your appliance. This comprehensive guide walks you through the proper techniques for how to clean kitchen exhaust fan systems safely and effectively, ensuring your kitchen stays fresh and your family breathes cleaner air.
Understanding the importance of maintaining kitchen exhaust fan systems helps motivate consistent care. Clean exhaust fans work more efficiently, removing cooking odors, smoke, and airborne grease particles that would otherwise settle on surfaces throughout your kitchen.
Grease buildup poses serious fire risks. When heated cooking oils and fats accumulate on fan components, they become highly flammable. Regular cleaning removes these dangerous deposits, significantly reducing kitchen fire hazards. Additionally, clean fans operate quieter and consume less energy, saving money on electricity bills.
Poor air quality affects family health. Dirty exhaust fans cannot effectively remove cooking fumes, allowing harmful particles to circulate throughout your home. This leads to respiratory irritation and unpleasant lingering odors that penetrate fabrics and furniture.
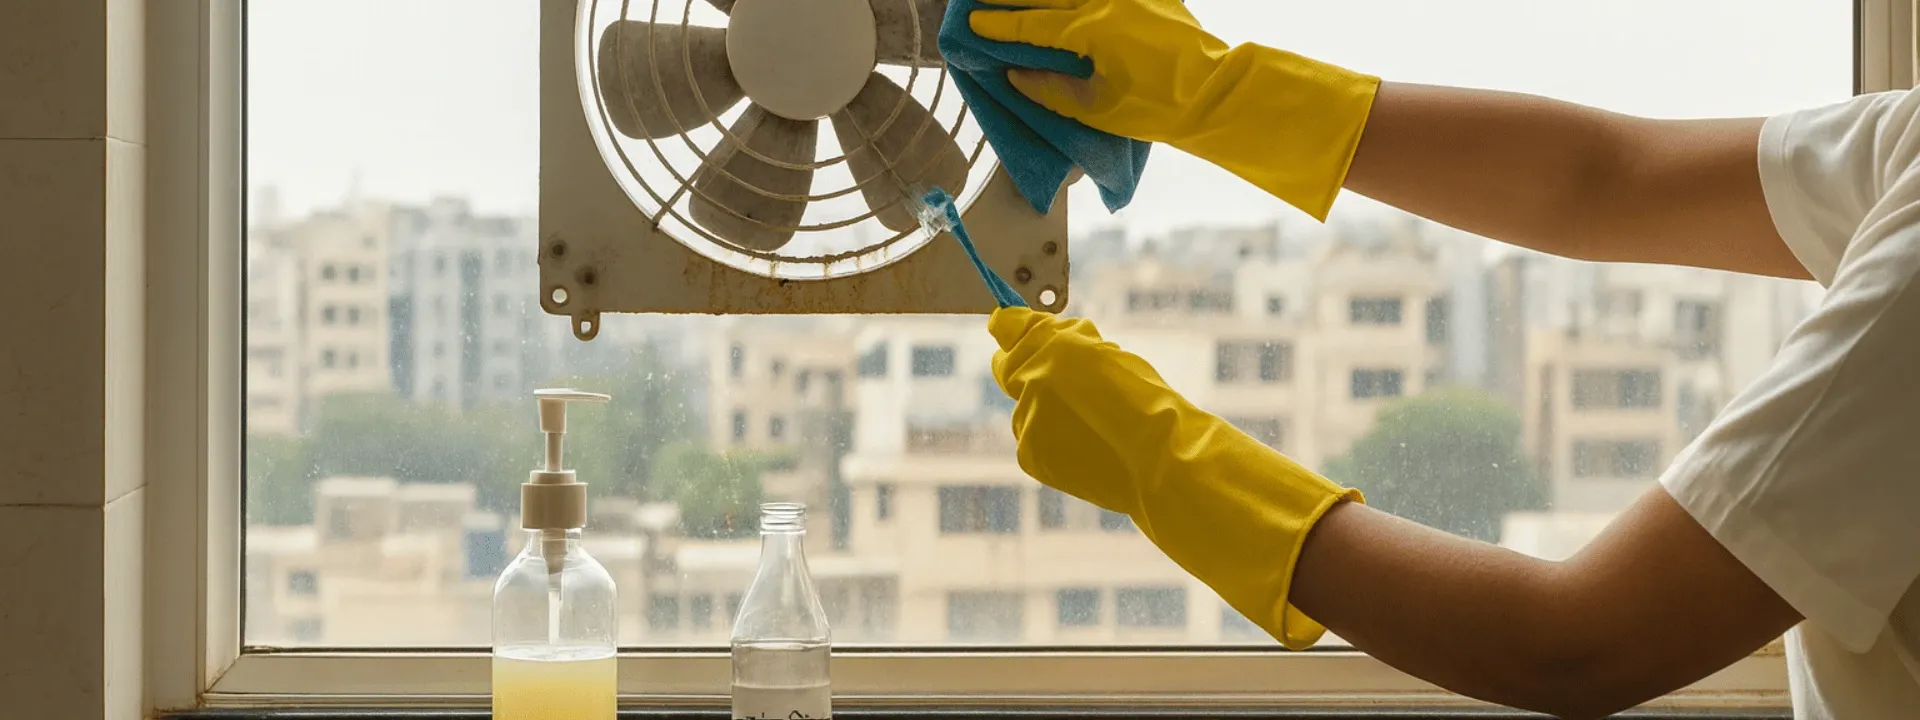
Proper kitchen exhaust fan cleaning techniques require specific tools and cleaning solutions. Gathering everything beforehand ensures efficient cleaning without interruptions.
Rubber gloves to protect hands from harsh degreasers
Safety glasses to prevent cleaning solution splashes
Old clothes or apron to protect clothing
Non-slip shoes for ladder safety
Dish soap or specialized degreasing agents
Warm water for mixing solutions
White vinegar for natural degreasing
Baking soda for stubborn stains
Microfiber cloths and paper towels
Soft-bristled brushes or old toothbrushes
Sturdy step ladder or stool
Large bowl or sink for soaking parts
Plastic drop cloths to protect counters
Screwdriver for removing components
Safety comes first when learning how to properly clean kitchen exhaust fan systems. Proper preparation prevents accidents and kitchen from cleaning solution damage.
Turn off the exhaust fan and disconnect power at the circuit breaker. Never attempt cleaning while the fan operates, as moving parts can cause serious injury. Allow the fan to cool completely if recently used, as motor components may retain heat.
Cover countertops, stovetops, and nearby surfaces with plastic sheeting or old towels. Cleaning solutions can stain surfaces or damage finishes. Remove any items from the area directly below the exhaust fan to prevent accidental damage or contamination.
Most exhaust fans have removable filters and covers. Carefully unclip or unscrew these components, noting their orientation for proper reassembly. Some fans require removing screws, while others use simple clips or latches.
Following proper steps to clean kitchen exhaust fan components ensures thorough cleaning without damage. This systematic approach addresses all areas where grease and grime accumulate.
Fill a large bowl or sink with hot water and add several drops of dish soap or specialized degreaser. Submerge removable filters, covers, and fan blades if possible. Allow parts to soak for 15-20 minutes to loosen stubborn grease deposits.
Scrub soaked components with soft brushes, paying special attention to crevices where grease collects. Rinse thoroughly with clean water and dry completely before reassembly.
For parts that cannot be removed, create a cleaning solution using warm water and degreasing agent in a spray bottle. Spray the solution onto fan housing, motor casing, and interior surfaces, avoiding electrical connections.
Wipe surfaces with microfiber cloths, working from top to bottom to prevent dripping onto clean areas. Use old toothbrushes to reach tight spaces and remove stubborn buildup.
Never spray cleaning solutions directly onto motor components or electrical connections. Instead, use slightly damp cloths to wipe accessible motor housing surfaces. Focus cleaning efforts on the fan blades and housing where most grease accumulates.
Sometimes standard cleaning methods are insufficient for heavily soiled fans. These advanced kitchen exhaust fan cleaning techniques tackle the toughest grease buildup safely and effectively.
Mix equal parts white vinegar and warm water for an effective natural degreaser. The acid in vinegar breaks down grease while being safe for most fan components. For extra cleaning power, add a tablespoon of baking soda to create a mild abrasive paste.
Heavy-duty degreasers designed for kitchen use provide superior cleaning power for severely soiled fans. Always read product labels and test in inconspicuous areas first. Ensure adequate ventilation when using chemical cleaners.
Steam effectively loosens grease without harsh chemicals. Direct steam from a handheld steamer onto greasy surfaces, then wipe clean with microfiber cloths. This method works particularly well for fan blades and interior surfaces.
Implementing regular kitchen exhaust fan maintenance tips prevents heavy buildup and makes deep cleaning easier. Consistent care keeps fans operating efficiently while reducing cleaning time and effort.
Establish a monthly cleaning schedule for light maintenance. Wipe down visible surfaces and clean or replace filters regularly. Heavy cooking requires more frequent attention, especially when preparing fried or greasy foods.
Run exhaust fans during and after cooking
Wipe visible grease spots immediately
Clean spills on surrounding surfaces promptly
Keep cooking areas well-ventilated
Remove and rinse filters in warm soapy water
Wipe down fan exterior and controls
Check for unusual noises or reduced airflow
Clean grease from surrounding wall areas
Recognize when your exhaust fan requires thorough cleaning. Visible grease buildup, reduced airflow, unusual noises, or lingering cooking odors indicate the need for comprehensive maintenance.
Clean exhaust fans monthly for light use, or every two weeks for heavy cooking. Filters may need weekly cleaning if you cook frequently or prepare greasy foods regularly.
Mild dish soap works well for most cleaning tasks. Avoid harsh chemicals, bleach, or abrasive cleaners that might damage fan components or finishes.
Look for visible grease buildup, reduced airflow, unusual noises, or cooking odors that linger longer than normal. These indicate decreased fan efficiency.
Test airflow by holding a tissue near the fan intake. Strong suction indicates good performance. Weak airflow suggests cleaning or maintenance needs.
Always disconnect power before cleaning. Use proper ladder safety, wear protective equipment, and avoid getting electrical components wet. Allow complete drying before reconnecting power.
Regular kitchen exhaust fan cleaning protects your family's health while extending appliance life. Following these easy kitchen exhaust fan cleaning methods ensures safe, effective maintenance that keeps your kitchen fresh and functional.
Remember that consistent care prevents major problems. Monthly cleaning takes less time than dealing with heavily soiled fans requiring deep cleaning. Establish routines that work for your cooking habits and stick to them consistently.
Quality exhaust systems like modern chimneys and range hoods deserve proper care. Regular maintenance protects your investment while ensuring optimal performance for years to come. Clean fans operate efficiently, quietly, and safely, making your kitchen a more pleasant space for cooking and gathering.
