How to Install a Compact Chimney in Small Spaces
Cart
Your cart is empty
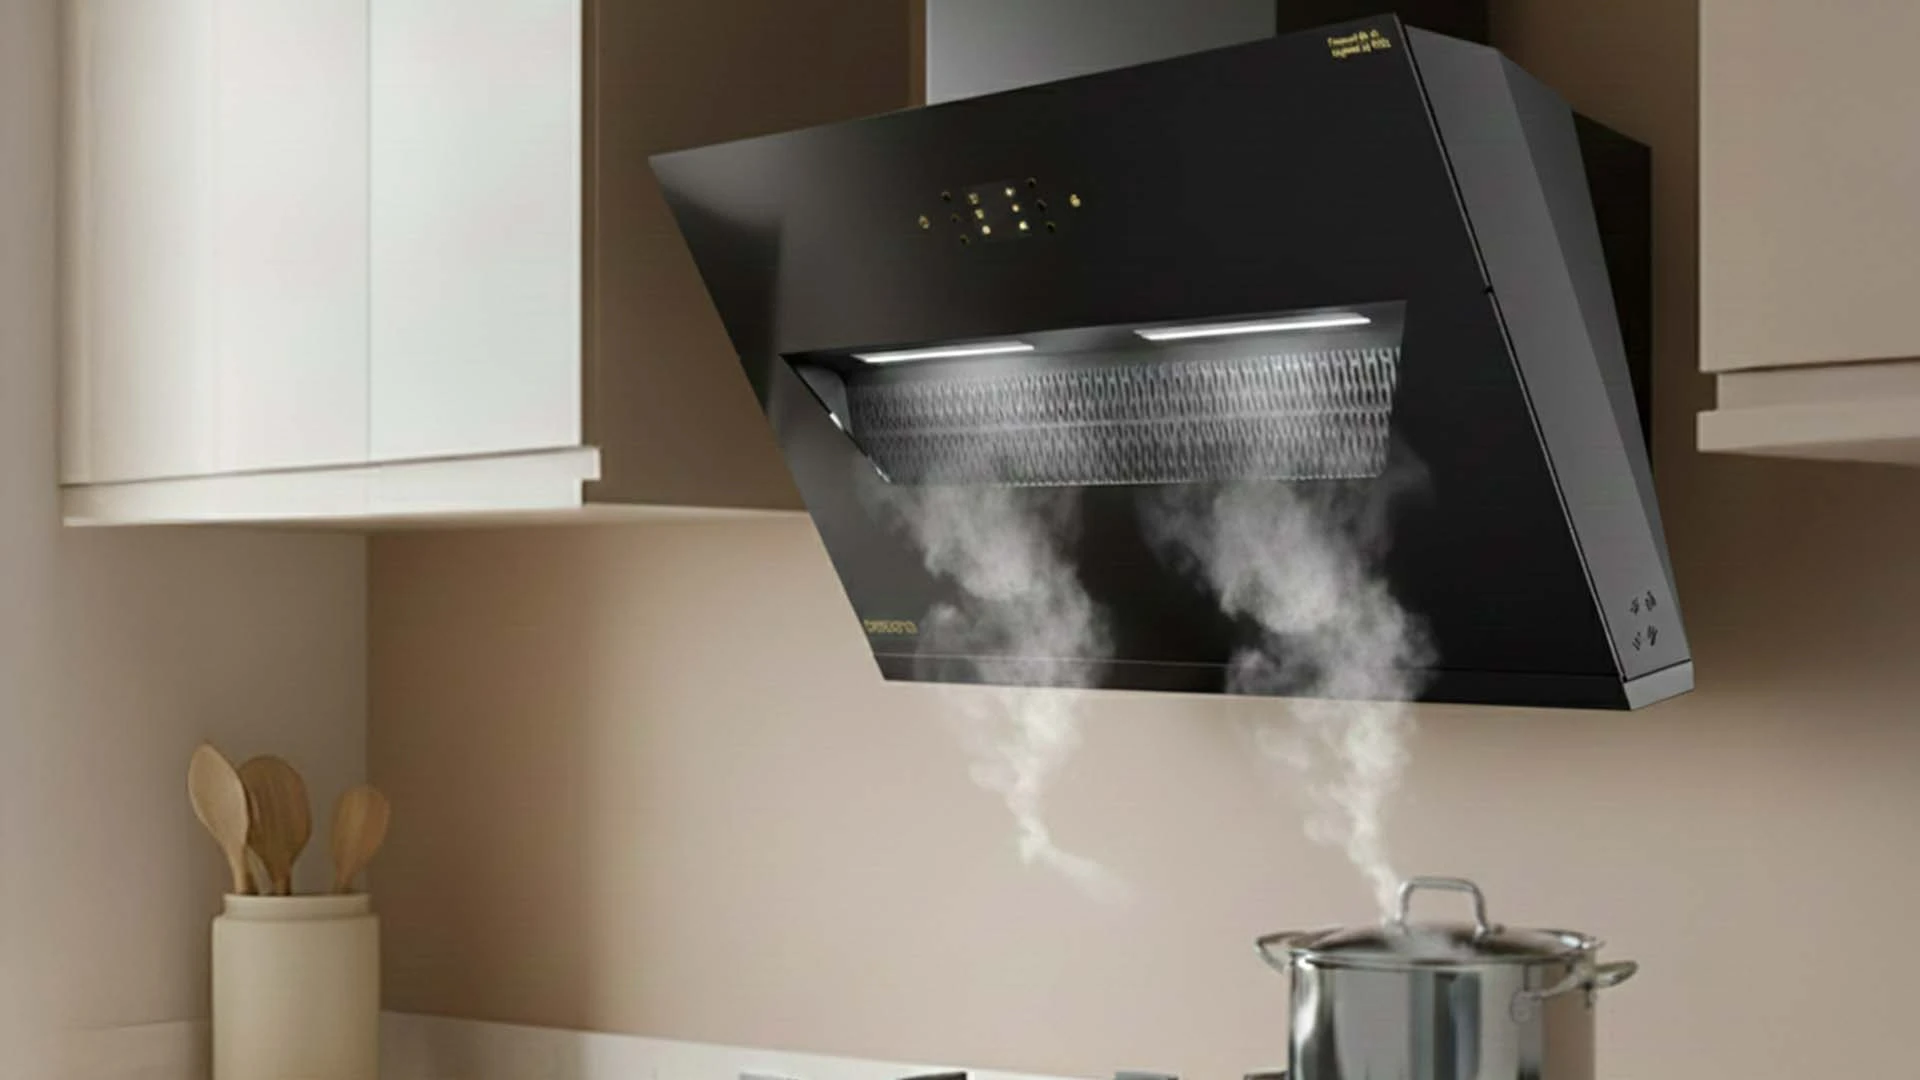
Installing a compact chimney in a small kitchen requires careful planning and precise execution. Modern homes often feature limited cooking spaces, making traditional chimney systems impractical. A compact chimney installation guide becomes essential for homeowners seeking efficient ventilation without compromising valuable kitchen real estate. These space-saving solutions offer powerful suction capabilities while maintaining sleek aesthetics that complement contemporary kitchen designs. Understanding the installation process helps ensure optimal performance and safety in confined spaces.
Compact chimney systems represent a revolutionary approach to kitchen ventilation in space-constrained environments. These units typically measure 60-90 cm in width, significantly smaller than traditional 120 cm models. The compact flue system design incorporates advanced motor technology that delivers impressive suction power despite reduced dimensions. Three primary types dominate the small space chimney market. Slim chimneys feature ultra-narrow profiles perfect for galley kitchens. Built-in models integrate seamlessly into cabinetry for invisible installation. Downdraft systems emerge from countertops, ideal for kitchen islands in compact homes.
Modern chimney design prioritizes efficiency over size. Advanced centrifugal fans generate suction rates between 800-1200 cubic meters per hour. LED lighting systems illuminate cooking surfaces while consuming minimal energy. Touch controls and remote operation add convenience without requiring additional wall space.
Compact installations preserve cabinet storage and maintain visual flow in small kitchens. Wall-mounted units require only 15-20 cm depth compared to 45-50 cm for traditional models. This difference translates to significant storage recovery in cramped cooking areas.
Successful small chimney installation begins with thorough space assessment and precise measurements. Kitchen dimensions dictate chimney placement options and determine suitable model types. Ceiling height, cabinet configuration, and cooking surface location influence installation approach. Measure the distance from your cooktop to the ceiling. Standard installation requires 65-75 cm clearance for gas stoves and 55-65 cm for electric cooktops. Low ceilings below 240 cm may necessitate specialized compact models or alternative mounting solutions.
Record cooktop width to ensure proper chimney coverage. The unit should extend 10-15 cm beyond each side of the cooking surface. Mark electrical outlet locations and verify adequate power supply. Check for overhead obstacles like light fixtures or decorative elements that might interfere with installation.
Gather essential installation tools before beginning work. You'll need a drill with masonry bits, level, measuring tape, and screwdriver set. Safety equipment includes goggles and dust masks. Purchase appropriate wall anchors based on your wall type - drywall, brick, or concrete require different fastening systems.
Proper installation ensures optimal performance and safety in your compact kitchen space. This comprehensive chimney installation guide covers each critical phase from initial marking to final testing. Following these steps systematically prevents common mistakes that compromise functionality. Begin by marking the exact installation position on your wall. Use a level to ensure perfect horizontal alignment. The mounting bracket must be precisely positioned to support the unit's weight and maintain proper clearance from the cooking surface.
Drill pilot holes at marked locations using appropriate bit sizes for your wall type. Insert wall anchors and secure the mounting bracket with provided screws. Test bracket stability by applying gentle pressure - any movement indicates inadequate fastening.
Carefully lift the chimney unit and align it with the installed bracket. Most compact models feature hook-and-slide mounting systems for easy installation. Ensure the unit sits flush against the wall and locks securely into position.
Connect the compact flue system to external venting if required. Ductless models simply require filter installation. Complete electrical connections following local codes and manufacturer specifications. Test all controls and lighting systems before finalizing installation.
Compact homes increasingly feature modern fireplace chimney systems that maximize heating efficiency while minimizing space requirements. These installations differ significantly from kitchen ventilation systems but follow similar space-optimization principles. Electric fireplace units often require minimal chimney infrastructure, making them ideal for small spaces. Gas fireplaces need proper venting but can utilize compact flue systems that route through walls rather than traditional vertical chimneys. Wall-mounted units eliminate floor space requirements entirely.
Ventless systems eliminate external ductwork requirements, perfect for apartments or condominiums with limited modification options. These units incorporate advanced filtration technology to maintain indoor air quality. Vented systems provide superior performance but require external wall access for installation.
Modern fireplace chimney systems integrate smart home technology for enhanced convenience. Remote controls, smartphone apps, and voice activation provide effortless operation. Programmable timers and temperature sensors optimize energy efficiency in compact living spaces.
Chimney installation cost varies significantly based on system complexity and local labor rates. Basic compact chimney units range from INR 15,000 to INR 45,000, while premium models with advanced features cost INR 50,000 to INR 80,000. Professional installation typically adds INR 3,000 to INR 8,000 to total project costs. DIY installation saves money but requires electrical knowledge and proper tools. Simple wall-mounted units suit experienced homeowners, while complex ducted systems benefit from professional expertise. Consider warranty implications - some manufacturers void coverage for non-professional installations.
Ductless compact chimneys offer the most economical installation option. These units require only electrical connections and wall mounting, eliminating expensive ductwork. Recirculating models with carbon filters provide adequate ventilation for most small kitchen applications.
Hire professionals for installations involving electrical panel modifications, complex ductwork, or structural wall changes. Gas fireplace chimney installations always require certified technicians due to safety regulations. Professional installation includes permits, inspections, and warranty coverage.
Maintain 65-75 cm distance for gas cooktops and 55-65 cm for electric surfaces. This ensures safe operation and optimal suction performance in compact spaces.
Basic wall-mounted ductless units suit DIY installation if you have electrical experience. Complex ducted systems or gas appliance connections require professional installation for safety and warranty compliance.
Select a chimney that extends 10-15 cm beyond each side of your cooktop. For 60 cm cooktops, choose 75-90 cm chimneys. Consider suction capacity - 800-1000 cubic meters per hour suits most small kitchens.
Local codes vary, but generally require proper electrical connections, adequate clearances, and approved venting systems. Check with local authorities before installation, especially for ducted systems requiring wall penetrations.
Install compact chimneys 65-75 cm above gas cooktops and 55-65 cm above electric surfaces. Low ceilings may require specialized models designed for reduced clearance applications.
Successful compact chimney installation transforms small kitchen functionality while maintaining aesthetic appeal. Proper planning, precise measurements, and careful execution ensure optimal performance in space-constrained environments. Whether choosing DIY or professional installation, understanding the process helps make informed decisions that enhance your cooking experience. Modern compact systems offer powerful ventilation capabilities without compromising valuable kitchen real estate, making them ideal solutions for contemporary compact homes.
