Step-by-Step Guide to Cleaning Gas Stove Ignition Parts
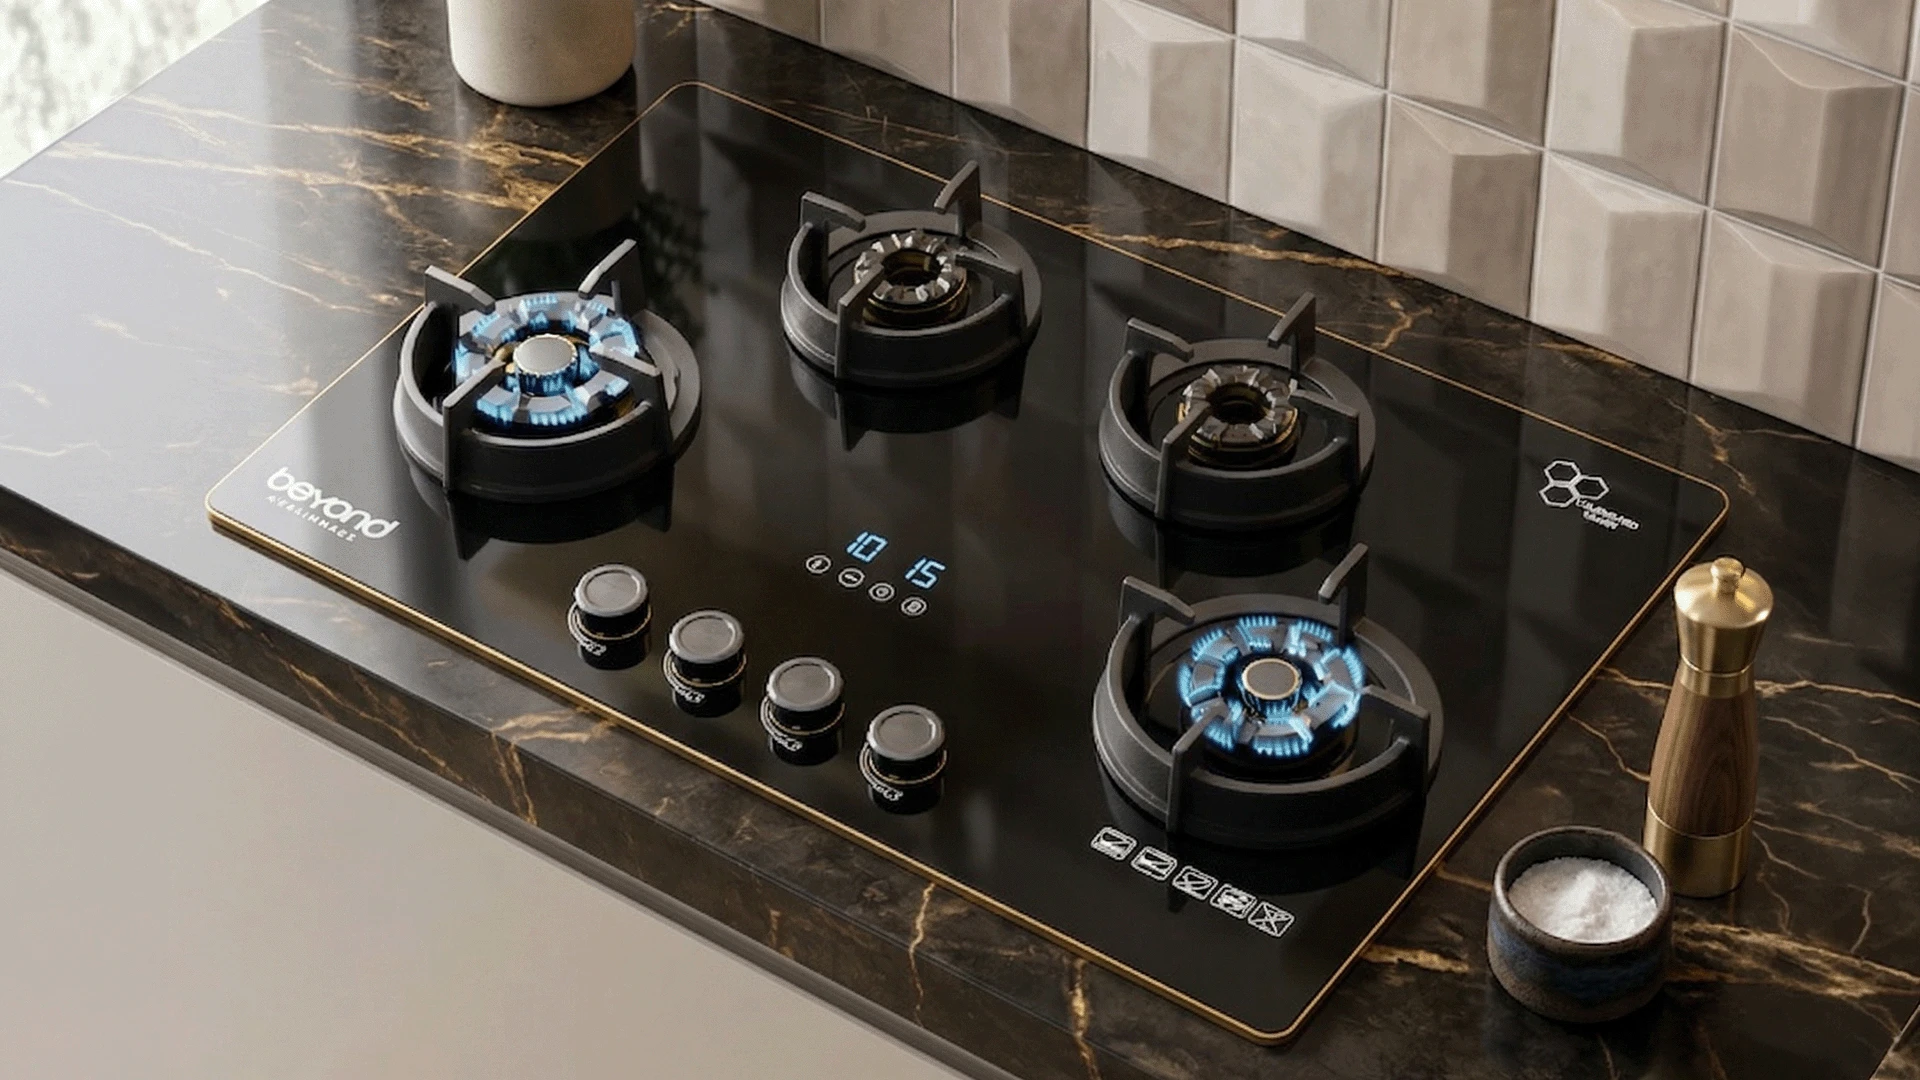
That repeated clicking sound from your gas stove — with no flame to show for it — is one of the most frustrating kitchen problems. In most cases, the fix is simpler than you think. Dirty ignition parts are the leading cause of a gas stove clicking but not lighting, and a proper spark igniter cleaning can restore full flame performance in under 30 minutes. This guide covers everything from gas range igniter maintenance to full burner assembly cleaning, so you can get your cooktop working reliably again.
Dirty igniter electrodes and clogged burner ports are the most common reasons a gas stove clicks without lighting — both are fixable at home with basic supplies.
Use rubbing alcohol on the igniter electrode, baking soda paste on burner caps, and a sewing needle to clear blocked ports — never use water directly on the igniter.
A monthly wipe-down and quarterly deep clean will prevent most ignition problems before they start.
The ignition system on a gas cooktop is precise. Even a thin layer of grease or food residue on the electrode tip can interrupt the spark, leaving you with a clicking stove and no flame. Regular cleaning of gas stove ignition parts is not just about hygiene — it directly affects safety, fuel efficiency, and the lifespan of your burner assembly.
Cooktops with built-in Flame Failure Devices (FFD) — like the Beyond Appliances Auriga Gas Cooktop and the Solaria Gas Cooktop — rely on clean ignition components to function correctly. A dirty igniter can interfere with the FFD sensor reading, causing the burner to cut gas supply prematurely or fail to hold a flame.
Ignition problems rarely appear without warning. Watch for these early indicators before the issue becomes a full breakdown.
The stove clicks repeatedly but the burner does not light
The flame is weak, uneven, or takes multiple attempts to catch
Visible grease buildup or dark discoloration around the igniter tip
One burner lights normally while another struggles — a sign of localised buildup
Cleaning frequency depends on how heavily you cook. Indian cooking — with its high-heat tempering, oil splatter, and spice-heavy preparations — tends to build up residue faster than lighter cooking styles.
Light use (occasional cooking): Every 3 months
Daily cooking: Once a month
After a boil-over or spill: Immediately, once the stove cools
Gathering everything before you begin makes the process faster and safer. Most of these items are already in your home. Having the right cleaning agents for each part of the burner assembly is important — using the wrong product on the igniter electrode can make the problem worse.
Each part of the ignition system responds best to a specific cleaning agent. Do not substitute these without understanding the surface you are cleaning.
Rubbing alcohol: The only safe option for the ceramic igniter electrode
Baking soda paste: Effective on heavy grease deposits on burner caps and bases
White vinegar: Works well on mineral deposits and light buildup on metal parts
Warm soapy water: Safe for soaking burner caps and grates
You do not need any specialised equipment. These common household items cover every step of the cleaning process.
Cotton swabs — essential for spark igniter cleaning
Soft-bristle toothbrush
Sewing needle or straightened paper clip — for unclogging burner ports
Dry microfiber cloths
Small bowl for soaking
Toothpicks for tight crevices
Safety is non-negotiable before you touch any ignition component. Two items are essential.
Rubber gloves to protect your hands from cleaning agents
Gas supply valve (confirm it is fully OFF before starting)
Safety note: Always turn off the gas supply valve and disconnect the power outlet before cleaning any ignition components. Never begin while the stove is warm.
Follow these steps in order. Skipping steps — especially drying — is the most common reason problems persist after cleaning. Each step is designed to be safe for all standard gas cooktops, including tabletop models with auto-ignition systems.
Turn all knobs to the OFF position and shut the gas supply valve. Wait at least 30 minutes after the last use before touching any part of the burner assembly. If your cooktop has an electric ignition system, disconnect it from the power outlet as well.
Lift the grates straight up — no tools are needed. Twist or lift the burner caps depending on your model. Place each piece on a clean towel and note the position of each cap so you can reassemble them correctly. Mixing up caps between Beyond Appliances cooktops is a common reassembly mistake.
Dip a cotton swab in rubbing alcohol and gently wipe the ceramic igniter tip in a circular motion. Use a dry swab immediately after to remove any residue — do not leave moisture on the electrode. The ceramic tip is fragile, so avoid pressing hard. For stubborn buildup, use a soft toothbrush with very light pressure.
Pro tip: Never use water directly on the igniter electrode. Moisture on the electrode is the primary cause of the clicking-but-not-lighting problem you are trying to fix.
Soak the burner caps and bases in warm soapy water for 15 to 20 minutes. For heavy grease, apply a baking soda paste, let it sit for 10 minutes, then scrub with a toothbrush. For mineral deposits, soak in equal parts white vinegar and water. Rinse thoroughly and dry completely — any remaining moisture will cause ignition problems after reassembly.
Inspect each small port hole around the burner head. Insert a sewing needle or straightened paper clip into any blocked ports and use a gentle twisting motion — do not enlarge the holes. Blow out loosened debris or sweep it away with a dry toothbrush. This step directly resolves low flame and uneven burning issues caused by partially blocked ports — a common problem on models like the Dorado Hobtop.
Locate the small tube opening beneath the burner base. Use a dry cotton swab or toothpick to clear any debris from the opening. Do not use any liquid inside the gas tube. Inspect the area for visible blockages or signs of corrosion, which may require a technician if severe.
Air dry all components for at least one hour, or use a dry microfiber cloth followed by 20 to 30 minutes of additional air drying. Reassemble the burner caps in the correct orientation — flat side down. Replace the grates, restore the gas supply and power, then test each burner individually to confirm full ignition.
Reassembly note: The burner cap must sit flat and level on the burner base, with the port holes facing outward and unobstructed. A tilted or misaligned cap is one of the most common causes of post-cleaning ignition failure.
Sometimes a full disassembly is not practical — you may be short on time or dealing with light buildup that does not yet warrant a complete clean. In these situations, a quick in-place clean can maintain ignition performance between deeper sessions.
This method works well as a routine maintenance step, particularly for cooktops used daily for Indian cooking where light grease accumulation happens quickly.
Use this approach for light buildup or routine upkeep when you cannot do a full disassembly.
Let the stove cool completely before starting
Dip a cotton swab in rubbing alcohol and clean the igniter tip in place
Use a toothbrush to scrub around the burner cap without lifting it
Insert a needle to clear any visible port blockages from above
Wipe down the surrounding surface with a damp cloth, keeping it away from the igniter
The quick method has real limits. It cannot reach the burner base or the gas tube opening, which are common sites for deeper grease accumulation. If your stove is still clicking without lighting after a quick clean, a full disassembly is necessary.
If your stove still does not ignite correctly after a thorough clean, the issue is usually one of a few specific causes. Working through this checklist will help you identify the problem without calling a technician immediately.
This is the most common post-cleaning complaint, and it almost always has a straightforward cause.
Check that all burner caps are seated correctly and sitting flat — this is the most frequent cause
Confirm all parts are completely dry — residual moisture triggers continuous clicking
Inspect the igniter tip for visible cracks or chips — a damaged electrode needs replacement
Verify that the burner cap holes align directly with the igniter electrode position
If cleaning the electrode does not resolve continuous clicking, the spark module itself may need inspection — spark module cleaning is not a DIY task and requires a qualified technician
An uneven flame after cleaning usually points to a reassembly issue or an incompletely cleared port.
Verify that all burner ports are fully unclogged — run the needle through each one again
Confirm the burner cap is not upside down or sitting at an angle
If the flame is consistently low across all burners, check gas supply pressure and contact a technician if needed
Some ignition problems go further than what a home clean can fix. Stop and call a qualified technician if you notice any of the following.
The igniter electrode is visibly cracked or broken
A gas smell persists after cleaning and reassembly
Clicking continues even when all burner knobs are in the OFF position — this indicates a spark module fault
The flame is consistently orange or yellow rather than blue — this signals a combustion issue
Consistent maintenance prevents most ignition problems from developing in the first place. A simple routine — split between monthly checks and quarterly deep cleans — keeps your burner assembly in reliable working condition year-round.
Cooktops with features like auto-ignition and FFD, such as the Beyond Appliances Quantum Gas Saver Stove (battery-powered auto-ignition), benefit particularly from clean ignition components since these safety systems depend on accurate electrode function to operate correctly.
This takes about five minutes and prevents light buildup from becoming a serious problem.
Wipe igniter tips with a dry cloth after cooking sessions
Check for visible food debris around burner caps
Run a needle through burner ports to confirm they are clear
Every three months, do a full cleaning of gas stove ignition parts using the seven-step process above.
Full disassembly and soak of burner caps and bases
Complete spark igniter cleaning with rubbing alcohol
Burner port unclogging with a sewing needle
Gas tube opening inspection and dry-swab clean
A few simple habits significantly reduce how often you need to deep clean your ignition components.
Use a splatter guard when cooking saucy or oil-heavy dishes
Wipe spills immediately — dried residue is far harder to remove than fresh spills
Avoid using excessive water near the igniter area during surface cleaning
Always reseat burner caps properly after every cleaning session
These are the most common questions about cleaning gas stove ignition parts, covering both the cleaning process and troubleshooting steps.
Turn off the gas supply and disconnect power. Dip a cotton swab in rubbing alcohol and gently wipe the ceramic electrode tip in a circular motion. Use a dry swab to remove residue and allow the electrode to dry completely before testing. Never use water directly on the igniter.
Not exactly. Oven igniters are typically flat glow-bar style rather than spark electrodes. Use a dry soft brush only — avoid all liquids on oven igniters, as they are significantly more sensitive to moisture damage than cooktop spark electrodes.
Insert a sewing needle or straightened paper clip gently into each port hole around the burner head. Use a light twisting motion and avoid enlarging the holes. Follow up with a dry toothbrush to sweep away loosened debris. This restores full, even flame distribution across the burner.
Gently rub the thermocouple tip with fine steel wool or emery cloth to remove oxidation, then wipe clean with a dry cloth. Use very light pressure only — aggressive scrubbing can damage the thermocouple sheath. If the burner continues to shut off after cleaning, the thermocouple may need professional inspection or replacement. Do not use any liquids. A dirty thermocouple causes the burner to shut off immediately after you release the ignition button — a common issue on hobs with FFD safety systems.
Continuous clicking after cleaning is almost always caused by moisture on or near the igniter electrode. Ensure every component is completely dry before reassembling. The second most common cause is a misaligned or incorrectly seated burner cap — check that each cap sits flat and level on its base.
Regular cleaning of gas stove ignition parts is one of the simplest and most effective ways to keep your cooktop performing reliably. The seven-step process in this guide — from electrode cleaning with rubbing alcohol to port unclogging with a needle — covers every component that commonly causes ignition failure. Pair it with a monthly wipe-down and a quarterly deep clean, and most ignition problems will not have a chance to develop.
If you use a cooktop with auto-ignition and FFD safety features, clean ignition components are especially important. These systems depend on a clear, functional electrode to operate as designed. Cooktops like the Beyond Appliances Solaria Gas Cooktop and the Quantum Gas Saver Stove are built with these safety mechanisms integrated — keeping the ignition parts clean ensures those features work every time you cook.
Bookmark the maintenance schedule in this guide and refer back to the troubleshooting section if problems persist after cleaning. A well-maintained ignition system means fewer interruptions, safer cooking, and a longer-lasting appliance.