How to Install a Built-in Hob: Complete Guide
Cart
Your cart is empty
Installing a built-in hob transforms your kitchen into a modern cooking space that combines style with functionality. Whether you're upgrading from a traditional gas stove or designing a new kitchen, a built-in hob for efficient cooking offers seamless integration and enhanced performance. This comprehensive guide walks you through everything you need to know about selecting, installing, and maintaining your new integrated hob. From understanding different hob types to mastering the installation process, you'll gain the confidence to make informed decisions about your kitchen upgrade. Professional installation ensures safety and optimal performance, while proper maintenance keeps your investment running smoothly for years to come.
Choosing the right kitchen hob depends on your cooking style, energy preferences, and kitchen design. Each type offers unique advantages that cater to different household needs. Understanding these differences helps you make an informed decision that enhances your cooking experience while fitting your budget and lifestyle requirements.
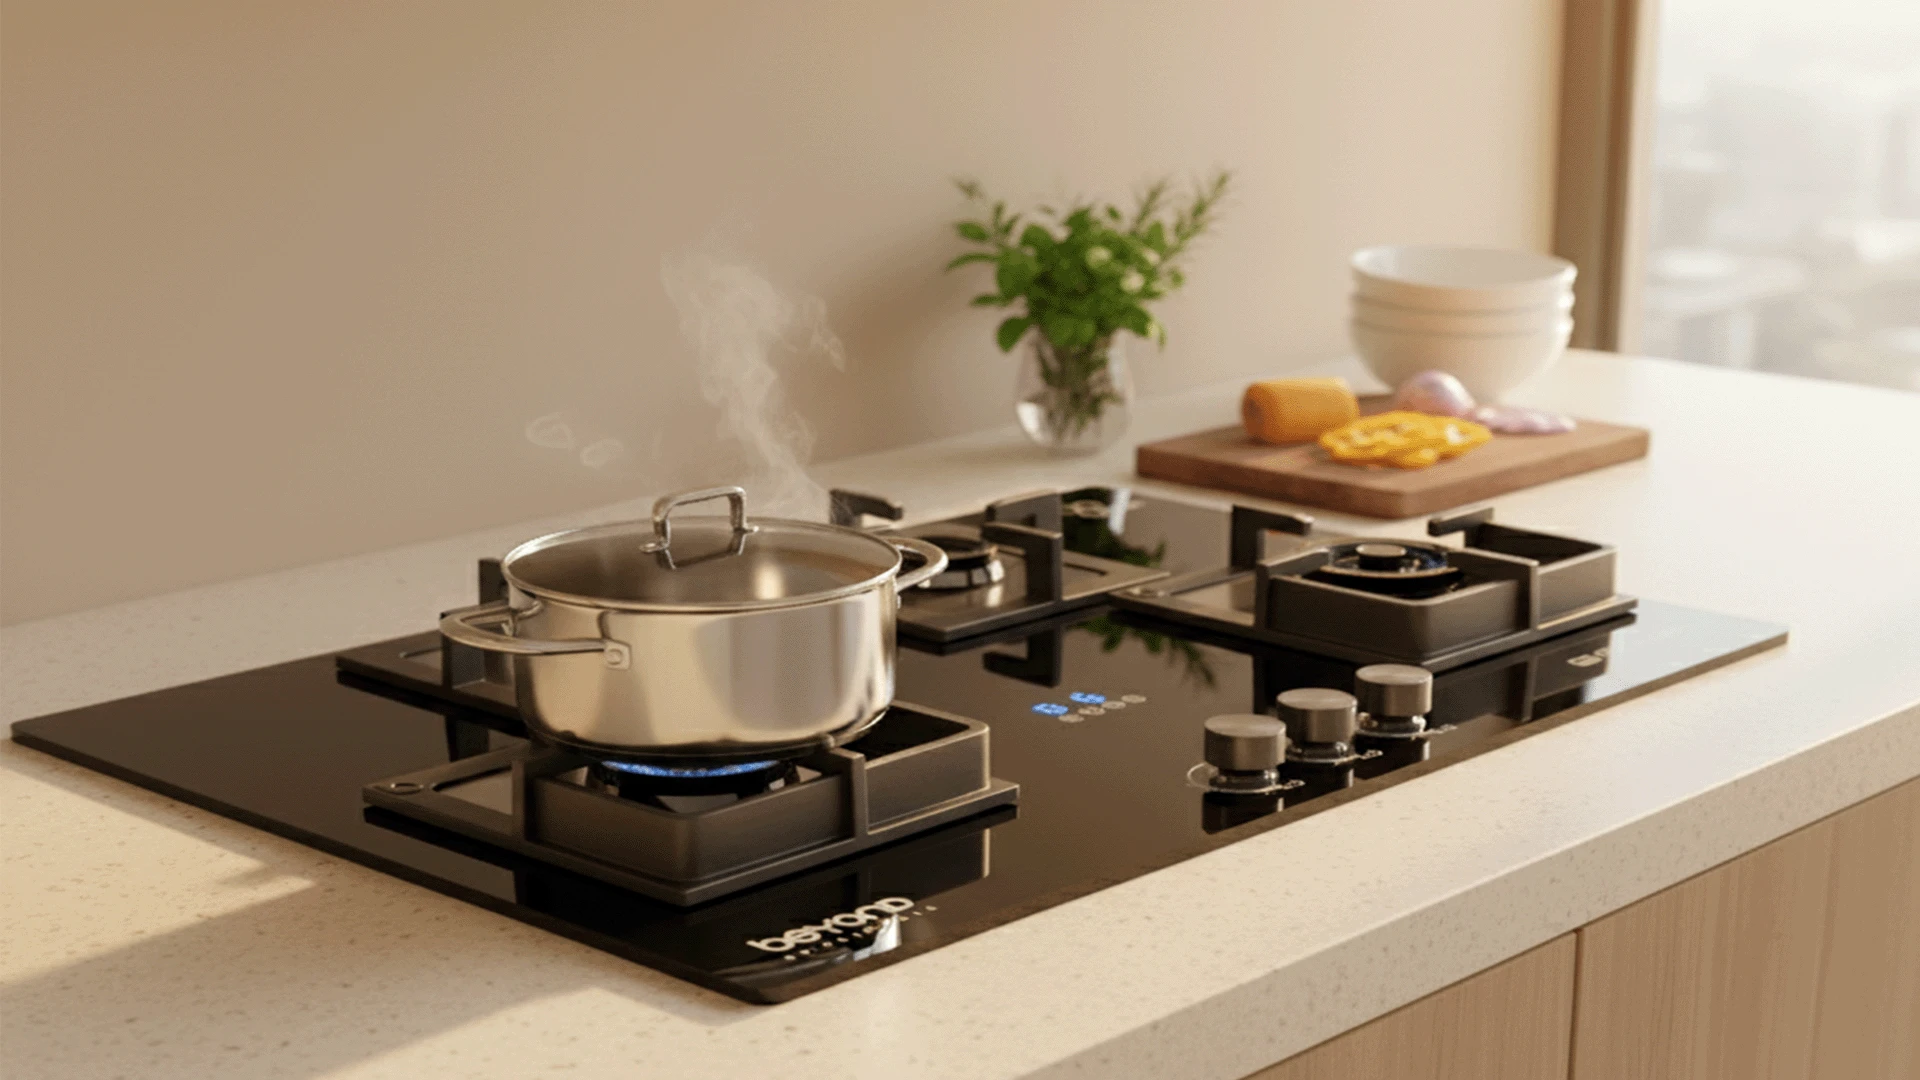
Gas hobs remain the preferred choice for many Indian households due to their instant heat control and compatibility with traditional cooking methods. Multi-flame burners provide different heat outputs, perfect for everything from gentle simmering to high-heat stir-frying. Brass burner caps offer superior durability and even heat distribution, essential for heavy-duty cooking sessions.
An induction cooktop uses electromagnetic technology to heat cookware directly, achieving up to 90% energy efficiency. This technology provides precise temperature control and faster cooking times compared to traditional methods. The cool-to-touch surface enhances safety, making it ideal for families with children.
A ceramic hob features a smooth glass surface that complements modern hob design aesthetics. The flat cooking surface makes cleaning effortless, while radiant heating elements provide consistent temperature control. These hobs offer excellent heat retention, continuing to cook food even after switching off.
Built-in designs create a seamless kitchen appearance while maximizing counter space. Unlike standalone stoves, integrated hob installations provide better safety features and easier cleaning around the cooking area. The investment in built-in installation pays off through improved kitchen functionality and increased home value.
Proper preparation ensures smooth installation and prevents costly mistakes. Gathering the right tools and materials beforehand saves time and reduces the risk of damage during installation. Professional-grade tools produce better results and ensure safety throughout the process.
• Measuring tape and spirit level for accurate positioning • Electric drill with wood and metal bits • Screwdrivers (flathead and Phillips) • Adjustable wrenches and pliers • Safety equipment including gloves and protective eyewear • Jigsaw for countertop cutting
Your hob installation kit should include mounting brackets, screws, and gaskets. Gas hobs require flexible gas connectors and shut-off valves, while electric models need appropriate electrical cables. Sealants prevent moisture damage and ensure a professional finish around the hob edges.
Gas leak detectors are essential for gas hob installations, while circuit testers ensure electrical safety. Keep a fire extinguisher nearby and ensure proper ventilation during installation. Professional consultation is recommended for complex utility connections to maintain warranty coverage and safety standards.
Careful planning prevents installation problems and ensures optimal hob performance. Accurate measurements and proper utility assessment save time and money during the installation process. Understanding your kitchen's limitations helps you choose the most suitable hob type and configuration.
Standard built-in hobs require specific cutout dimensions, typically ranging from 56cm to 75cm in width. Counter depth should accommodate the hob body while maintaining structural integrity. Allow minimum 5cm clearance on all sides for proper ventilation and easy maintenance access.
Gas lines must provide adequate pressure for optimal burner performance, typically 20-25 mbar for domestic use. Induction cooktop installations require dedicated 220V electrical circuits with appropriate amperage ratings. Proper ventilation planning ensures safe operation and prevents moisture buildup.
Indian cooking requires high heat output for techniques like tempering and deep frying. Look for burners with minimum 3000 BTU capacity for main cooking zones. Four or five-burner configurations provide flexibility for preparing multiple dishes simultaneously, essential for Indian meal preparation.
Following proper installation procedures ensures safety and optimal performance. Each step builds upon the previous one, creating a secure and functional cooking surface. Take time to verify measurements and connections at each stage to prevent costly mistakes.
Mark the cutout area using the manufacturer's template, ensuring perfect alignment with cabinet structure. Use a jigsaw with fine-tooth blade for clean cuts in laminate countertops. Sand rough edges smooth and apply edge sealer to prevent moisture damage in wooden surfaces.
Connect the flexible gas line to the hob inlet, using thread sealant on all connections. Test for leaks using soapy water solution before final positioning. Install the safety shut-off valve within easy reach for emergency situations. Verify proper flame color and adjust air mixture if necessary.
Electrical connections must match the hob's power requirements exactly. Install appropriate circuit breakers and ensure proper grounding for safety. Connect control cables according to the wiring diagram, using wire nuts for secure connections. Test all functions before final mounting.
Position the hob carefully in the cutout, ensuring even gaps around all edges. Secure mounting brackets underneath the countertop, checking that the hob sits level and stable. Apply silicone sealant around the edges for moisture protection and professional appearance.
Safety testing ensures your installation meets professional standards and protects your family. Proper testing procedures identify potential problems before they become dangerous situations. Regular safety checks maintain optimal performance and extend equipment life.
Test all gas connections for leaks using approved detection methods. Ensure adequate ventilation to prevent gas accumulation in enclosed spaces. Install carbon monoxide detectors near the cooking area for additional safety. Familiarize all family members with emergency shut-off procedures.
Verify proper grounding connections using a multimeter before energizing the circuit. Install GFCI protection where required by local electrical codes. Check circuit load calculations to prevent overloading and potential fire hazards. Schedule professional inspection for complex electrical work.
Test each burner or heating element for proper ignition and heat distribution. Verify that all control functions operate smoothly and accurately. Check safety features like flame failure devices and automatic shut-offs. Document any issues for warranty coverage and future reference.
Regular maintenance keeps your energy efficient hob operating at peak performance while extending its lifespan. Proper care prevents costly repairs and ensures consistent cooking results. Understanding basic troubleshooting saves time and money on service calls.
Clean spills immediately to prevent staining and buildup on cooking surfaces. Use appropriate cleaners for your hob type - mild soap for gas hobs, specialized glass cleaner for ceramic surfaces. Remove and clean burner components regularly to maintain proper gas flow and ignition.
Perform monthly deep cleaning of all hob components and surrounding areas. Schedule quarterly safety inspections to check gas connections and electrical components. Annual professional servicing ensures optimal performance and maintains warranty coverage. Replace worn components promptly to prevent further damage.
Ignition problems often result from dirty burner ports or faulty spark electrodes. Uneven heating may indicate clogged gas ports or warped heating elements. Control panel malfunctions usually require professional diagnosis and repair. Keep manufacturer contact information handy for technical support.
Optimizing your hob's performance reduces energy costs while improving cooking results. Understanding cooktop features helps you utilize advanced functions effectively. Smart cooking techniques maximize efficiency and minimize energy waste.
Use cookware with flat bottoms and appropriate sizes for each burner to maximize heat transfer. Match pot sizes to burner dimensions for optimal energy efficiency. Cover pots when possible to reduce cooking times and energy consumption. Preheat pans briefly rather than running burners at high heat continuously.
Timer functions prevent overcooking and save energy by automatically shutting off burners. Power boost features provide quick heating when needed, then return to normal operation. Child safety locks prevent accidental activation and ensure family safety. Smart connectivity allows remote monitoring and control for enhanced convenience.
Calculate energy savings by comparing your old cooking method with the new hob's efficiency ratings. Factor in reduced cooking times and improved heat control when evaluating performance benefits. Consider long-term maintenance costs and warranty coverage in your investment analysis. Most quality hobs provide positive ROI within 3-5 years through energy savings.
A 4-burner built-in hob (typically 60cm wide) is ideal for families of 4, providing adequate cooking space for multiple dishes simultaneously. This size offers the perfect balance between cooking capacity and kitchen space utilization.
While basic installation is possible for experienced DIY enthusiasts, gas connections and electrical work should always be done by certified professionals for safety. Professional installation also ensures warranty coverage and compliance with local building codes.
Installation costs range from INR 2,000-8,000 depending on complexity, with gas hobs generally being less expensive to install than induction cooktop models. Additional costs may apply for utility modifications or cabinet adjustments.
Built-in hobs integrate seamlessly into countertops, offer better aesthetics, improved safety features, and more efficient cooking compared to standalone stoves. They also provide easier cleaning and better heat distribution.
Professional installation typically takes 2-4 hours, depending on existing utility connections and any required modifications. Complex installations requiring new gas lines or electrical circuits may take longer.
Induction cooktop models offer the highest energy efficiency at up to 90%, followed by gas hobs at around 60% efficiency. Ceramic hob models typically achieve 70-80% efficiency depending on usage patterns.
Installing a built-in hob for efficient cooking represents a significant upgrade to your kitchen's functionality and appearance. Whether you choose a traditional gas hob, modern induction cooktop, or sleek ceramic hob, proper installation and maintenance ensure years of reliable service. Remember that safety should always be your top priority - professional installation for gas and electrical connections protects your family and maintains warranty coverage. With proper care and regular maintenance, your new integrated hob will provide efficient, enjoyable cooking experiences while adding value to your home. Take time to understand your hob's features and capabilities to maximize its potential and achieve the best cooking results for your family.
