Curved Hob Types: A Step-by-Step Installation Guide
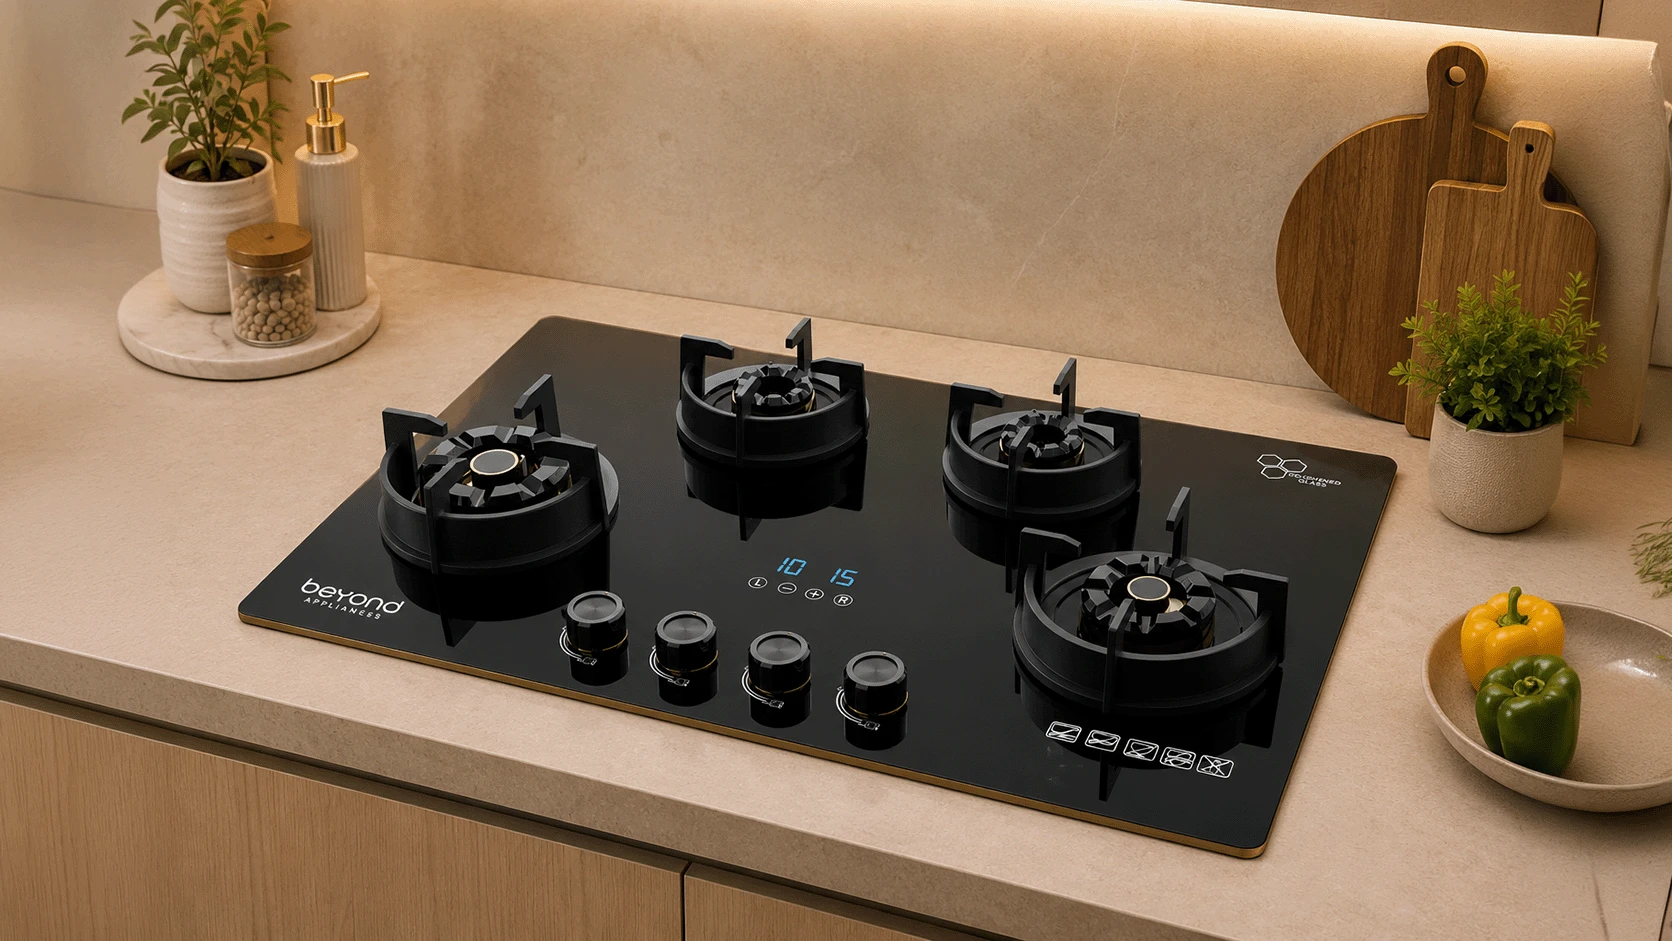
Modern kitchens are moving away from standard flat hob layouts. Curved hob designs are gaining ground — especially in island kitchens, open-plan spaces, and modular kitchen renovations where ergonomics and aesthetics both matter. A curved hob is not just a style choice: its arc-shaped profile places every burner or cooking zone within comfortable reach, reducing strain during long cooking sessions. There are three main curved hob types — curved gas, curved electric, and curved induction — each with different heat sources and installation needs. This guide covers all curved hob types and walks you through a step-by-step installation process. Beyond Appliances' gas hob range, engineered specifically for Indian modular kitchens, is one example of how these principles translate into a real product.
Curved hob types include gas, electric (ceramic), and induction — each with different heat sources, materials, and installation needs.
Curved hob installation involves six key steps: measuring, cutting, preparing connections, securing the hob, connecting utilities, and final testing.
Curved hobs suit island and open-plan kitchens best; narrow galley kitchens or tight budgets may be better served by a straight hob format.
A standard hob sits flat and straight across a worktop. A curved hob follows an arc — either a gentle single curve or a more pronounced double curve — that wraps the cooking surface toward the user. This geometry changes how you interact with the hob during cooking. You reach fewer zones at arm's length, and the layout feels more natural when you are managing multiple pots at once. Curved hob designs are particularly well-suited to kitchen islands and peninsula counters, where the cook stands at the centre rather than against a wall.
The curved format is available across all four main hob categories, though it is most commonly produced in gas and induction variants. Understanding where curved fits within the broader hob landscape helps you make a more informed purchase decision.
The four main hob types are gas, electric (solid plate), ceramic, and induction. All four are available in curved formats, but curved gas hobs and curved induction hobs dominate the market. Curved ceramic hobs are available but less common. Curved solid-plate electric hobs are less commonly stocked than gas or induction curved variants, with most manufacturers focusing production on ceramic and induction alternatives.
Hob Type |
Curved Format Available |
Heat Source |
Energy Efficiency |
Best For |
|---|---|---|---|---|
Curved Gas Hob |
Yes |
Open flame |
Moderate |
Traditional cooking |
Curved Electric Hob |
Yes |
Radiant coil/plate |
Moderate |
Budget kitchens |
Curved Induction Hob |
Yes |
Electromagnetic |
High |
Modern, efficient cooking |
Curved Ceramic Hob |
Yes — less commonly produced than gas or induction curved variants |
Radiant heat |
Moderate |
Easy cleaning |
Each curved hob type has a distinct way of generating heat, a different set of compatible cookware, and its own strengths and limitations. Knowing these differences before you buy saves you from a mismatch between the hob and your actual cooking habits. Curved ceramic hobs are also available (see table above), though they are less widely stocked and are not covered in detail here.
A curved gas hob arranges its burners along an arc-shaped surface. Most curved gas hobs come in 3-burner or 4-burner configurations. The burner layout follows the curve, so each position remains within easy reach. Flat-bottomed pans work best, though slightly curved bases are also compatible on cast iron supports.
Pros: Instant flame control, works without electricity, familiar cooking experience for Indian kitchens
Cons: Requires a gas supply line, harder to clean around curved burner gaps, needs adequate ventilation above
Best for: Larger kitchens, traditional cooking styles, households that cook with high heat regularly
Gas hobs built for Indian cooking conditions — where tempering spices, high-flame tadkas, and prolonged simmering are daily tasks — benefit from full brass burners and a Flame Failure Device (FFD). The FFD cuts the gas supply automatically if the flame goes out, which is a practical safety feature rather than a marketing claim. The Beyond Appliances Dorado Gas Hob, for instance, combines full brass burners with an FFD and a smart timer across its 3 and 4-burner variants, delivering 6.5 to 8 kW of heat output suited to heavy Indian cooking loads.
A curved ceramic electric hob uses radiant heating elements positioned beneath a smooth tempered glass surface. The curved glass profile gives it a clean, uninterrupted look that works well in contemporary kitchen designs. Flat-bottomed pans are essential — curved or warped bases reduce contact with the heating zone and slow cooking times.
Pros: Easy to wipe clean, sleek visual profile, lower upfront cost compared to induction
Cons: Slower heat response than gas or induction, residual heat remains after switching off
Best for: Contemporary kitchens, rental properties, kitchens without a gas supply
A curved induction hob uses electromagnetic zones beneath a curved glass surface to heat only the cookware — not the surface itself. This makes it the fastest and most energy-efficient of all curved hob types. Some curved induction hobs include flexi-zone or bridge zone options, where two adjacent zones merge into one elongated cooking area for larger pans or griddles.
Pros: Fastest heat-up time, highest energy efficiency, cool-to-touch surface, precise temperature control
Cons: Higher purchase cost, requires magnetic-base cookware only, professional installation recommended for mains wiring
Best for: Modern open-plan kitchens, island configurations, households prioritising energy savings
The material of a curved hob affects how long it lasts, how easy it is to clean, and how well it distributes heat. Curved hob designs also vary in their layout and configuration, which influences how the hob fits into your specific kitchen setup. Reviewing these factors before purchase prevents costly mismatches.
Tempered glass is the most common surface material in curved electric and induction hobs. It is heat-resistant, smooth, and easy to wipe down. Stainless steel frames and trim are standard in curved gas hobs, offering durability around the burner area. Enamel-coated surfaces appear on some gas hob variants and offer good heat resistance, though they can chip if struck hard.
Tempered glass: Sleek finish, easy cleaning, suits induction and ceramic hobs
Stainless steel: Durable, heat-resistant, common in gas hob frames
Enamel coating: Good heat resistance, but requires careful handling to avoid chipping
Single-curve layouts feature a gentle arc across the full width of the hob. Double-curve designs add a secondary curve, creating a more pronounced ergonomic shape. Integrated curved hobs are built flush into the worktop, while freestanding versions sit on top. Colour and finish options typically include black glass, brushed stainless, and white ceramic.
Before finalising a curved hob, run through this checklist to confirm the model suits your kitchen and cooking needs.
Number of burners or cooking zones
Total power output (kW for gas; wattage for electric or induction)
Child lock and auto safety cut-off
Touch controls versus rotary knobs
Residual heat indicator (electric and induction models)
Flexi-zone or bridge zone availability (induction)
Cutout dimensions and worktop compatibility
Installing a curved hob follows a logical sequence. The curved profile adds one extra consideration — the worktop cutout must follow the arc of the hob template precisely. Rushing this step leads to gaps, poor sealing, or a hob that sits unevenly. Work through each step carefully and do not skip the safety checks.
Safety note: Gas hob connections must be completed by a registered gas engineer. Mains electrical wiring for electric and induction hobs must be handled by a qualified electrician. Always isolate the gas or power supply before starting any installation work.
Jigsaw or hole saw (for worktop cutout)
Flathead and Phillips screwdriver set
Heat-resistant silicone sealant
Measuring tape and pencil
Spirit level
Electrical cable (electric or induction) or flexible gas hose (gas)
Mounting clips (usually supplied with the hob)
Use the curved hob template supplied in the packaging. Place it on the worktop in the intended position and trace the arc carefully with a pencil. Account for the curved profile at every point — a straight ruler will not follow the arc accurately. Check minimum clearance distances from worktop edges and adjacent cabinet units as specified in the installation manual. Measure twice before cutting.
For laminate worktops, a jigsaw with a fine-tooth blade works well. Stone or solid wood worktops may require a specialist cutter to avoid chipping along the curved edge. Cut slowly and follow the pencil line precisely. Once cut, smooth the edges and apply a sealant to the raw cut surface to prevent moisture ingress, particularly on laminate or wood worktops.
For gas hobs: Position the flexible gas hose connection point before lowering the hob into place. Confirm the gas supply is fully isolated at this stage.
For electric or induction hobs: Route the electrical cable through the worktop cutout and confirm the circuit rating matches the hob's wattage requirement. Also confirm that the extractor chimney above is positioned within the recommended clearance distance from the hob surface.
Apply a continuous bead of heat-resistant silicone sealant around the rim of the worktop cutout. Lower the curved hob carefully into position, aligning the arc with the cutout edge. The curved profile requires slow, even lowering to avoid the hob catching on one side. Once seated, attach the mounting clips underneath the worktop to hold the hob firmly in place. Check with a spirit level to confirm the hob sits flat.
For gas hobs: Connect the flexible hose to the gas supply point and test all joints with a soapy water solution — bubbles indicate a leak. Do not proceed until a registered gas engineer has signed off the connection.
For electric or induction hobs: Wire the hob to the isolation switch and test each zone at low power first. Check that all zones activate correctly and that safety features such as child lock and auto cut-off are functioning as expected.
Wipe away any excess silicone sealant from around the hob edge before it sets. Fit any trim pieces or edge strips supplied with the hob. Run a full heat test across all zones or burners at normal cooking temperatures. Once satisfied, register the product for warranty — most manufacturers require registration within a set period of purchase to activate the full warranty terms.
Curved hob cleaning requirements vary by hob type. The curved surface introduces a few extra considerations — particularly around burner gaps on gas hobs and the curved glass edges on ceramic and induction models. A consistent cleaning routine keeps the hob performing well and extends its lifespan.
Each curved hob type has a preferred cleaning method. Using the wrong products or tools can damage the surface or the ignition points.
Curved gas hob: Remove pan supports and burner caps and soak them in warm soapy water. Clean around the curved burner layout with a non-abrasive degreaser and a soft cloth. Avoid getting liquid into the ignition points.
Curved ceramic or electric hob: Wipe the curved glass surface daily with a damp microfibre cloth. Use a ceramic hob scraper for burnt-on residue. Avoid abrasive pads, especially along the curved glass edges where chipping is more likely.
Curved induction hob: The cool-to-touch surface means spills can be wiped immediately after cooking. Use a microfibre cloth with a specialist induction cleaner. Be particularly careful with sugar or syrup spills — if left to cool on the glass, they can bond to the surface and cause damage.
Weekly: Surface wipe-down; check burner caps are seated correctly (gas)
Monthly: Deep clean of all zones or burners; inspect the silicone seal around the worktop cutout
Annually: Professional gas safety inspection (gas hobs); check electrical connections and isolation switch (electric or induction)
A curved hob offers genuine functional advantages over a straight hob in the right kitchen setup. However, it is not the ideal choice for every kitchen. Understanding the curved hob benefits alongside its limitations helps you decide whether the format suits your space and cooking habits.
The arc of a curved hob brings every cooking zone within a shorter reach. This reduces shoulder and back strain during long cooking sessions, particularly when managing four or more pots simultaneously. Curved hob designs also serve as a visual focal point in open-plan kitchens, where the hob is visible from the living or dining area and contributes to the overall kitchen aesthetic.
Small kitchens: A curved hob can maximise usable counter space on either side of the unit by reducing the straight footprint
Large open-plan kitchens: A curved island hob creates a natural cooking focal point and improves workflow around the island
Family kitchens: The curved layout keeps all zones within close, controlled reach — useful when cooking multiple dishes at once
Very narrow galley kitchens where a straight hob fits the counter run more efficiently
Kitchens with limited worktop depth, where the curved cutout may compromise structural integrity
Budget-constrained renovations, as curved hobs typically carry a higher price premium than equivalent straight models — see the Dorado Gas Hob for a reference point on built-in hob pricing
The four types of hobs are gas hobs, electric (solid plate) hobs, ceramic hobs, and induction hobs. All four are available in curved formats, though curved gas hobs and curved induction hobs are the most widely produced and easiest to source.
The two primary hob categories are gas hobs and electric hobs. Electric hobs include ceramic and induction subtypes. Curved versions of both gas and electric hobs are available for modern kitchen installations.
Gas hobs are the preferred choice for Indian cooking because they deliver instant, high-intensity flame control suited to tempering, stir-frying, and prolonged simmering. A gas hob with full brass burners, a Flame Failure Device, and a smart timer — such as the Beyond Appliances Altair Gas Hob with its 10.4 kW output and jumbo burner — handles the demands of heavy Indian cooking reliably. Induction hobs are a strong alternative for households prioritising energy efficiency and precise temperature control.
Worktop marking and cutting can be completed as a DIY task with the right tools. However, gas connections must be completed by a registered gas engineer, and mains electrical wiring for electric or induction hobs must be handled by a qualified electrician. Always follow the manufacturer's installation instructions and do not bypass the safety sign-off steps.
Induction hobs are available in four main zone configurations: single zone, multi-zone, flexi-zone, and full-surface induction. Single-zone models suit compact kitchens, while multi-zone hobs offer two or more independent cooking areas. Flexi-zone and full-surface induction hobs allow adjacent zones to merge, accommodating larger pans or griddles. Curved induction hobs typically feature multi-zone or flexi-zone configurations, making them well suited to island kitchen layouts.
Curved induction hobs require magnetic-base cookware. Cast iron, carbon steel, and magnetic stainless steel pans are all compatible. A simple test: hold a magnet to the base of the pan — if it sticks firmly, the pan will work on an induction hob.
Beyond Appliances offers gas hobs designed for the demands of Indian kitchens, including the Dorado and Altair models. Both feature full brass burners, Flame Failure Devices, and smart timers. While these are built-in hobtop formats rather than curved-profile hobs, they are engineered for the same high-performance cooking environments where curved hob layouts are most popular — modular kitchens, island setups, and open-plan spaces.
Curved hob types — gas, electric, and induction — each bring a different set of strengths to the kitchen. The curved format itself adds ergonomic and aesthetic value, particularly in island and open-plan kitchen layouts where reach and visual design both matter. Choosing the right curved hob type comes down to three factors: your heat source preference, your cookware, and your kitchen layout.
The installation process is manageable when approached step by step. Accurate measurement, a clean curved cutout, proper utility connections, and thorough testing are the foundations of a safe and lasting installation. Skipping any of these steps — particularly the gas or electrical sign-off — creates risk that outweighs any time saved.
For households planning a modular kitchen renovation or an island kitchen build, it is worth assessing the full cooking setup together — hob type, burner count, power output, and chimney suction capacity — rather than selecting each appliance in isolation. A well-matched hob and chimney combination, engineered for Indian cooking conditions, will perform more consistently over time than a mix of unrelated components assembled from different sources.