DIY Kitchen Chimney Install: 7 Essential Checklist
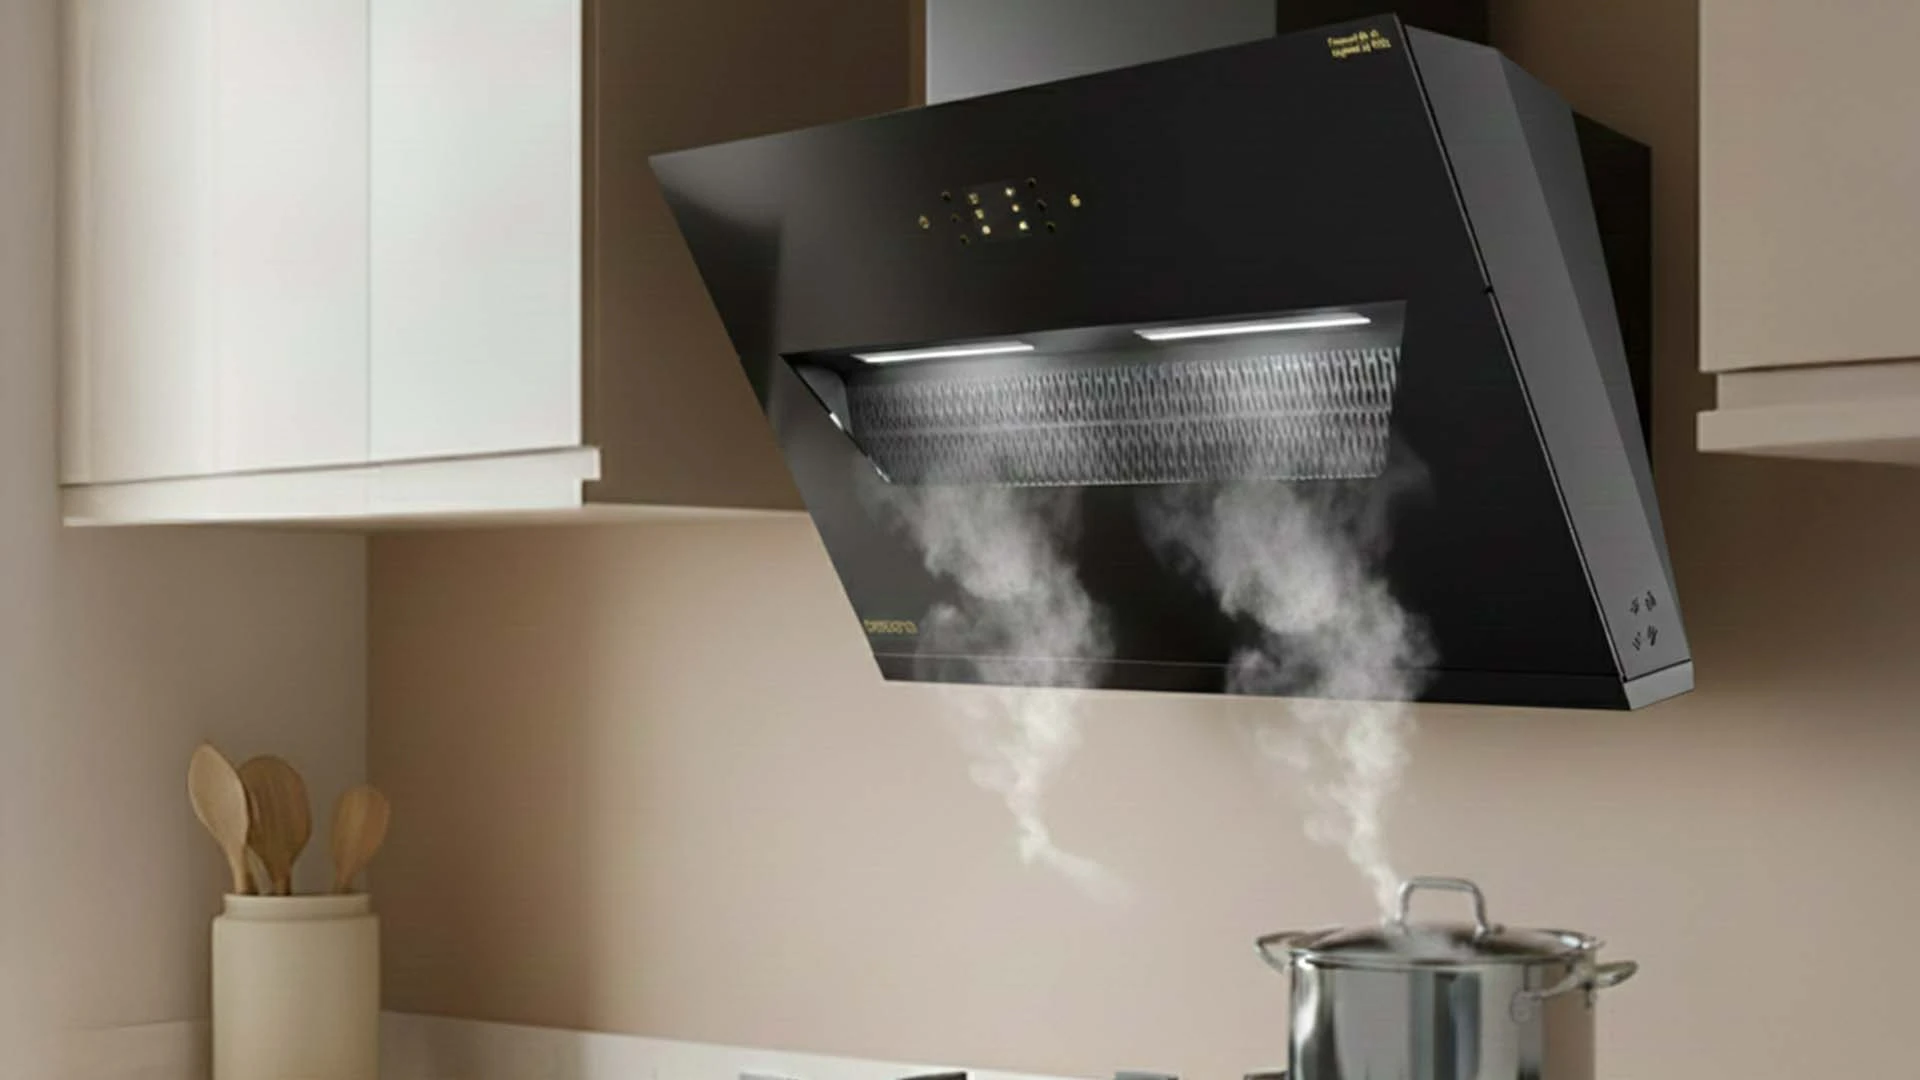
Installing a kitchen chimney yourself can save thousands of rupees while giving you complete control over the process. Many homeowners successfully complete DIY kitchen chimney installation projects with proper planning and the right approach. Professional installation typically costs between INR 3,000 to 8,000, while a DIY approach reduces expenses to just INR 500 to 2,000 for basic tools and materials. Beyond cost savings, DIY installation lets you work at your own pace and ensures every detail meets your standards. However, success depends on following a systematic checklist and understanding when professional help becomes necessary.
Choosing DIY chimney hood installation offers significant advantages for budget-conscious homeowners. Professional installation fees range from INR 3,000 to 8,000, depending on chimney type and complexity. DIY installation reduces these costs dramatically, requiring only basic tools and materials worth INR 500 to 2,000. The exhaust fan installation cost becomes more manageable when you handle the work yourself. You gain valuable skills while maintaining complete quality control throughout the process. DIY installation works best for standard wall-mounted chimneys in straightforward kitchen layouts. However, complex installations involving extensive ductwork or electrical modifications may require professional expertise.
Consider professional installation for gas line modifications, major electrical work, or structural wall changes. Complex ventilation system for kitchen setups with long duct runs also benefit from expert handling.
Successful kitchen chimney installation requires specific tools and materials. Gather these items before starting your project to avoid delays and ensure smooth progress. Basic tool requirements include: • Electric drill with masonry and wood bits • Measuring tape and pencil for marking • Spirit level for accurate alignment • Screwdriver set with various head types • Safety glasses and work gloves • Stud finder for wall structure detection Material specifications vary by chimney type. Wall-mounted models need sturdy brackets rated for the unit's weight. Ductwork requires appropriate diameter pipes, usually 6 or 8 inches. Electrical connections need proper gauge wire and junction boxes.
Prioritize safety with protective gear including safety glasses, work gloves, and stable ladder or step stool. Keep a first aid kit nearby during installation work.
Proper planning forms the foundation of successful kitchen ventilation installation. Start by determining optimal chimney placement above your cooktop. The standard height ranges from 24 to 30 inches, depending on your chimney type and cooking habits. Measure carefully to ensure perfect alignment with your cooking surface. Mark the center point of your cooktop and transfer this measurement to the wall or ceiling mounting location. Use a spirit level to verify all markings remain perfectly horizontal. Assess your wall structure using a stud finder. Locate wall studs for secure mounting, especially important for heavier chimney models. Plan electrical routing from your nearest power source to the installation location.
Sketch a simple diagram showing chimney position, electrical routing, and ductwork path. This blueprint helps identify potential obstacles before starting actual installation work.
Secure mounting ensures safe range hood installation that withstands daily use. Begin by installing wall brackets according to manufacturer specifications. Use appropriate anchors for your wall type - hollow wall anchors for drywall or masonry anchors for concrete walls. Drill pilot holes at marked locations to prevent wall cracking. Install brackets using provided screws, ensuring each bracket sits flush against the wall surface. Test bracket stability before proceeding with chimney mounting. When you install kitchen exhaust fan units, weight distribution becomes critical. Heavier models require additional support points or reinforcement. Check that mounting hardware matches your specific chimney model and wall construction.
Avoid over-tightening screws which can crack wall surfaces. Ensure brackets align perfectly to prevent chimney tilting or stress on mounting points.
Electrical safety takes priority during installing kitchen vent systems. Turn off power at the circuit breaker before beginning any electrical work. If you're uncomfortable with electrical connections, hire a qualified electrician for this portion. For DIY electrical work, use appropriate wire gauge for your chimney's power requirements. Most kitchen chimneys need 14 or 12-gauge wire depending on amperage. Install a dedicated circuit if your electrical panel has capacity. Ductwork routing affects ventilation efficiency significantly. Plan the shortest possible path to exterior walls while avoiding sharp bends that reduce airflow. Seal all duct joints with appropriate tape or clamps to prevent air leaks.
Minimize duct length and bends for maximum airflow. Use smooth-walled ducts rather than flexible corrugated types when possible for better performance.
Complete your chimney installation guide with thorough testing and maintenance preparation. Test all functions including fan speeds, lighting, and any additional features. Listen for unusual noises that might indicate loose components or airflow restrictions. Check airflow efficiency by holding tissue paper near the intake area. Strong suction indicates proper installation and ductwork sealing. Verify that exterior vent flaps open and close properly during operation. Establish your kitchen chimney maintenance routine immediately. Clean filters monthly or as manufacturer recommendations specify. Schedule annual ductwork inspection to maintain optimal performance. Keep installation documentation and warranty information in a safe location.
Address excessive noise by checking mounting security and ductwork connections. Poor suction often results from clogged filters or ductwork obstructions requiring immediate attention.
DIY installation typically costs INR 500 to 2,000 for tools and materials, while professional installation ranges from INR 3,000 to 8,000. You can save up to 75% by handling the installation yourself.
Essential tools include an electric drill, measuring tape, spirit level, screwdriver set, safety glasses, and work gloves. Additional materials depend on your specific chimney model and wall type.
Install your chimney 24 to 30 inches above the cooktop surface. Exact height depends on your chimney type and manufacturer recommendations for optimal performance.
Yes, most homeowners can successfully install standard wall-mounted chimneys with basic tools and careful planning. However, complex electrical work or structural modifications may require professional assistance.
Common mistakes include improper height placement, inadequate mounting support, poor ductwork sealing, and incorrect electrical connections. Following manufacturer instructions prevents most installation errors.
Most DIY installations take 3 to 6 hours, depending on complexity and your experience level. Allow extra time for careful measurement and testing to ensure proper installation.
DIY kitchen chimney installation offers substantial cost savings while providing complete control over your project timeline and quality standards. Success depends on careful planning, proper tools, and following manufacturer specifications precisely. Focus on safety throughout the process, especially during electrical connections and mounting procedures. When in doubt about complex electrical work or structural modifications, consult qualified professionals to ensure safe and code-compliant installation.